Remote repository
A remote repository on repository hosting platforms such as GitLab, GitHub, and Bitbucket is a repository accessible via the Internet to all users. These platforms provide a centralized place for storing and managing projects based on the Git version control system.
| Engee has its own remote repository hosted by GitLab link. By default, all users registered with Engee have access to the remote repository using the login/password of the Engee account. |
The interface examples are taken from GitLab. If you use another hosting to work with the version control system, please refer to the official documentation of the corresponding hosting.
| You can work with Git on the corresponding hosting site, but most often they are used as project storage, and all work takes place locally on the developer’s computer. To access the remote repository, you need to get a link to this repository. The link allows the local repository to interact with the remote repository, perform synchronization operations and exchange changes between the local and remote repositories using Git. Read more about getting links below. |
git.engee remote repository
Go to the website remote repository Engee under the username/password of your Engee account. If you have never used git.engee, then the start menu for creating your own project or joining existing ones will open.:
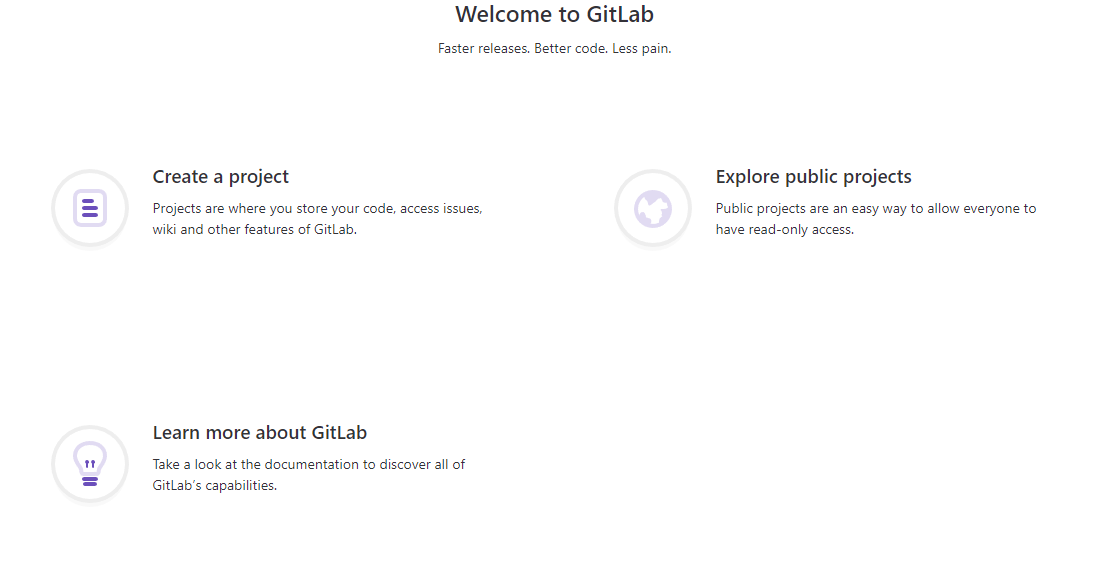
Consider creating your own project:
-
Select Create a project. This will open the project creation menu. One of three options will be offered:
-
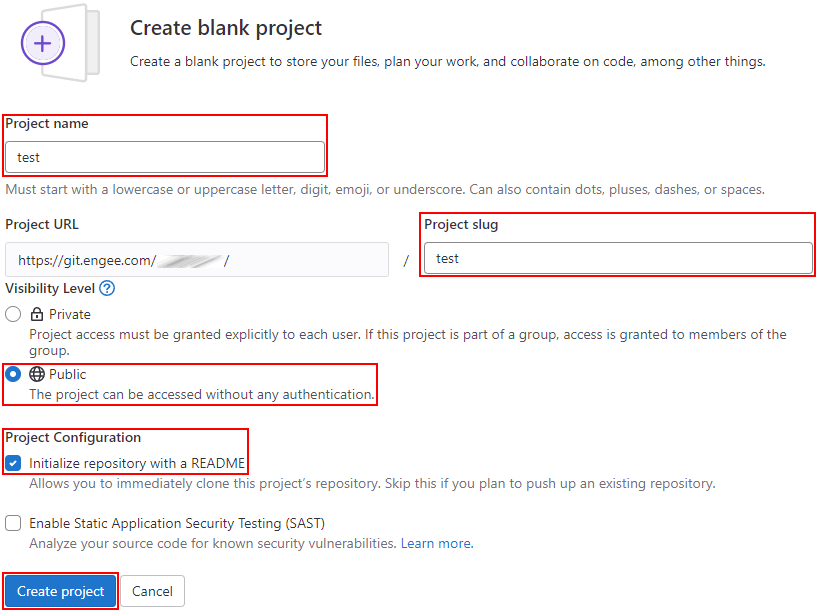
Create blank project — Create an empty project to store files, plan work and collaborate on code and/or for other purposes.
-
Create from template — Create a project pre-filled with the necessary files to get started quickly. There are a number of built-in templates for specific programming languages and shells to choose from.
-
Import project — transfer data from an external source, such as GitHub, Bitbucket, or another instance (hosting) of GitLab.
-
-
Create an empty project (blank project), specifying the name, visibility (access to other users), configuration (will create a README file) and indicator (slug) if necessary:
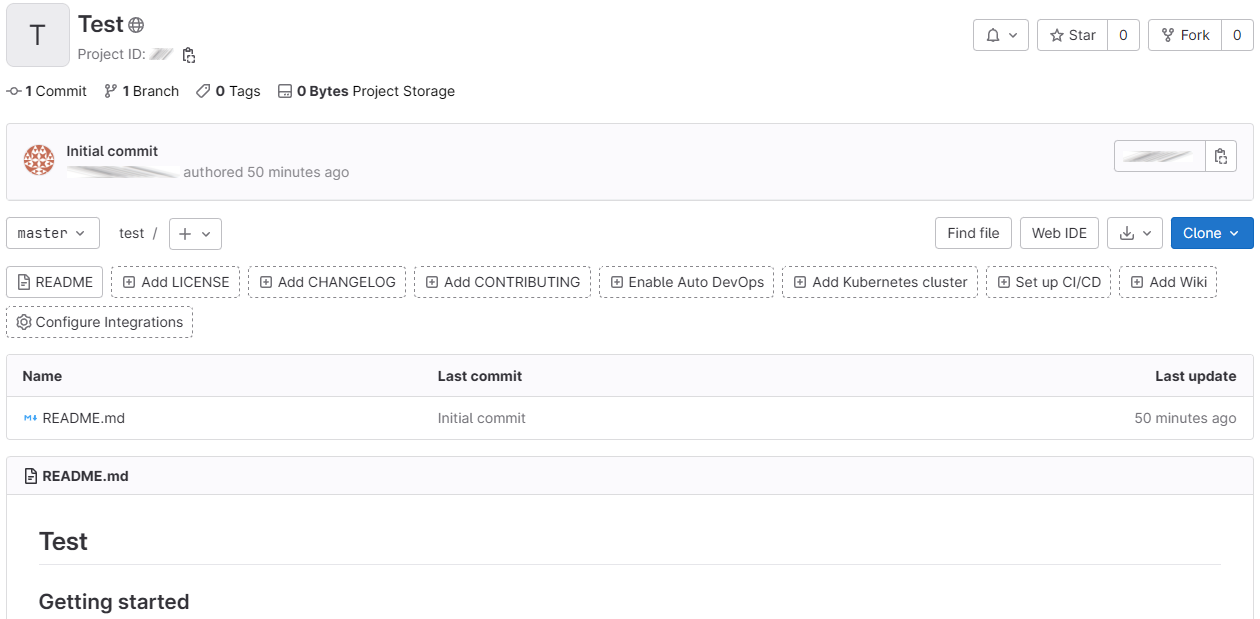
The created project looks like this:
-
Now you can clone your own remote repository to work locally.:
If you already have your own projects, they will be displayed on the main page.:
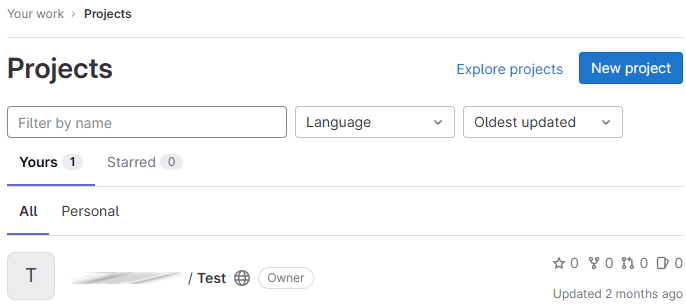
Select the desired project and copy it as shown earlier.
An SSH key is generated automatically when registering an Engee account. To work with other remote repositories (outside of GitLab Engee), you will have to create a key yourself. To work with the remote Engee repository, use an SSH link.
Consider connecting to other people’s projects.
-
Select Explore public projects from the GitLab main menu if you haven’t created your own project yet.:

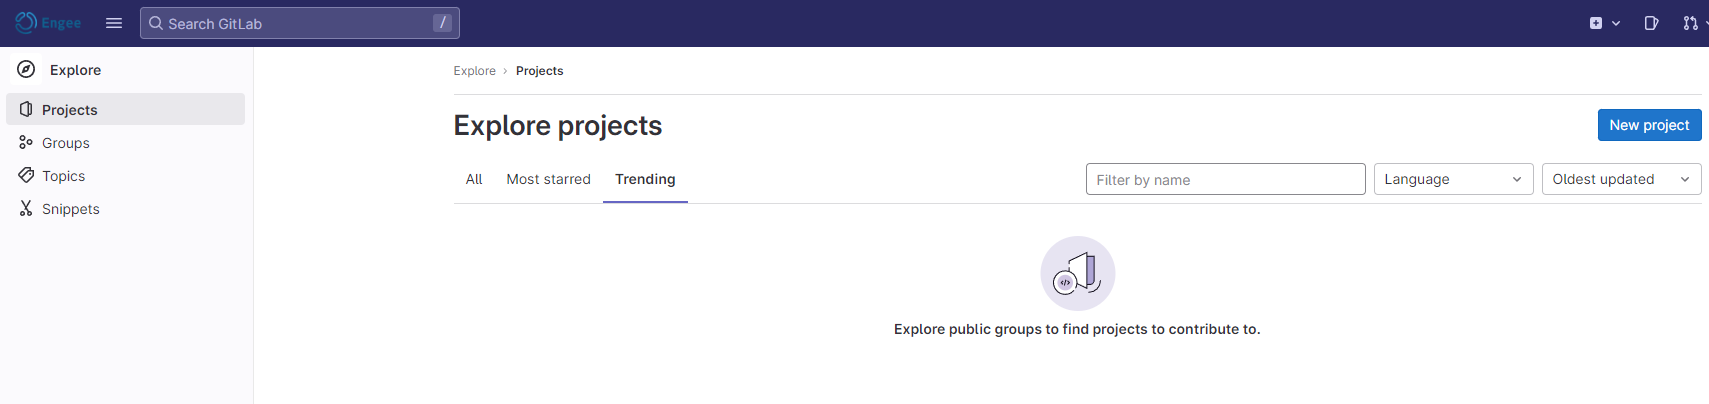
or select Explore projects from the created projects menu.:

Both options will open the project search section.:
-
Go to one of the tabs: All (all projects), Most starred (most popular) or use the filter by name (Filter by name). Next, select the desired project marked Public
 (public access).
You can clone all repositories with the Public sign. (for public use). Repositories with the Internal sign  (for internal use) are closed to other users by default. You can request access to such a repository via the Request Access command on the repository page.
-
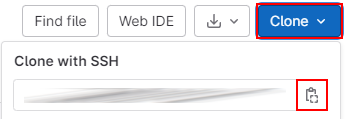
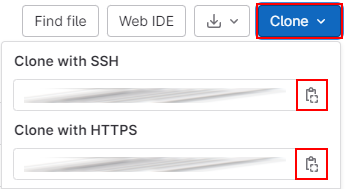
On the page of the selected project, clone it using an SSH key. You can also clone the repository using HTTPS, but this will require you to enter your username/password every time you interact with the repository (if they have not been cached):
Working with remote repositories in Engee
To work with remote repositories in Engee, you must add an SSH key yourself. The commands to add the key are entered in command line Engee  in shell mode.
To switch the command line to shell mode, use a semicolon. ; — the command line will change the view from engee> on shell> and it will support everything. Git commands.
|
Add the SSH key according to the following instructions (using GitLab hosting as an example):
-
Generate the key using the command
ssh-keygenby entering it into the command line in shell mode:ssh-keygen -C "comment" -
The command prompt will prompt you to save the resulting key. You do not need to change the key storage directory. Next, press Enter on all command line prompts until you receive
randomart— visual representation of the SSH key: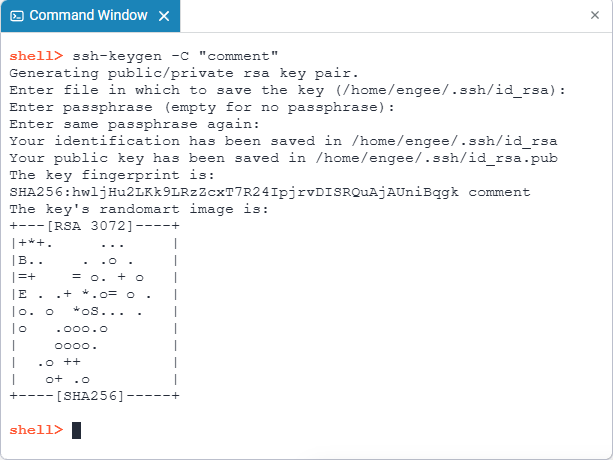
Receiving the image means that the key has been successfully created. By default, the key will be saved in the directory
/home/engee/.ssh/id_rsa. The .ssh folder will be hidden in the Engee file browser. -
Get the contents of the SSH key using the command:
cat /home/engee/.ssh/id_rsa.pub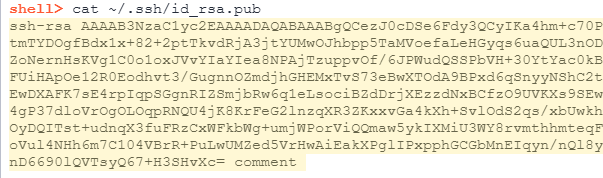
-
Copy the contents of the SSH key and return to the hosting site. Click on the user’s avatar and select Edit profile from the context menu.
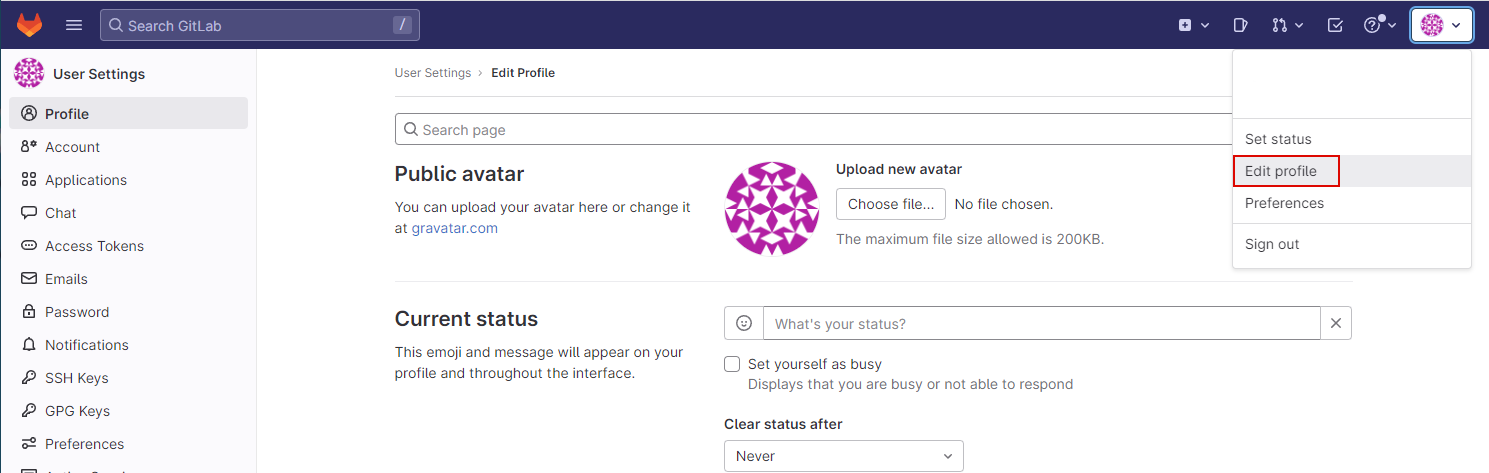
-
Open the SSH-keys section, paste the previously copied key into the designated field and click on the Add key button:
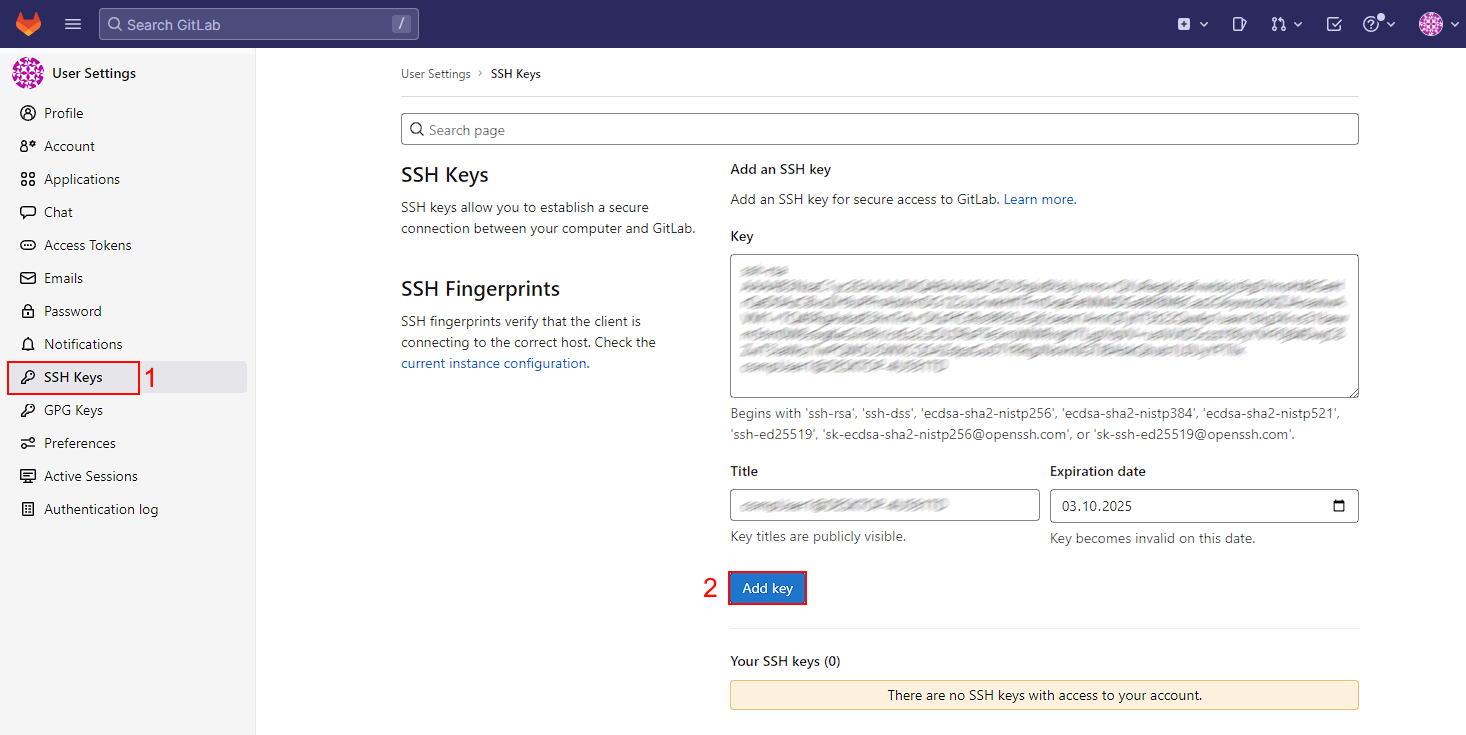
-
Next, go to the page of the desired project and clone its repository using an SSH key.:
Enter the command to clone the repository:
git clone git@git.engee.com:username/repository name.git -
Read about further work with the cloned repository in the article Git in the Engee command line.
| The key has a limited validity period, which can be extended in the SSH-keys section. After receiving the key, you can clone remote repositories from GitLab to work in Engee and locally on the computer. |
Changing the configuration file via the nano editor in Engee

Changing the SSH configuration file (~/.ssh/config) simplifies the process of connecting to remote repositories, especially if you have multiple SSH keys for different hosting or repositories. You can use the built-in command line editor to change the SSH configuration. nano. For this:
-
Switch the command line to shell mode
shellusing a semicolon ; — the command line will change the view fromengee>onshell>. -
Enter the command to open the SSH configuration file using the nano text editor:
nano ~/.ssh/config -
In the editor window, specify the hosting address (in our case git.engee.com ) and the path to the key generated in Engee as shown in the example:
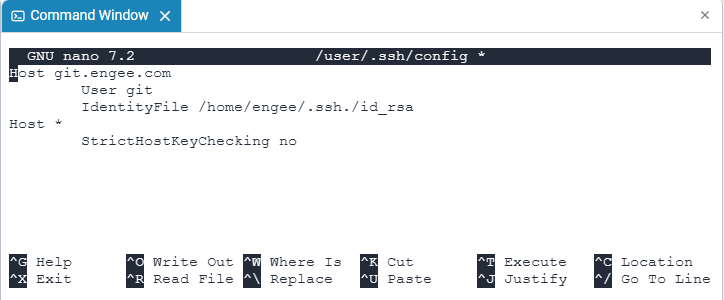
Host git.engee.com
        User git
        IdentityFile /home/engee/.ssh./id_rsa
Host *
        StrictHostKeyChecking no
where
-
Host— the hosting address. -
User— the user’s name. -
IdentityFile— the path to the generated key (specified by default). -
StrictHostKeyChecking— disabling verification of host keys. It is installed innoto automatically add new host keys without requesting confirmation.
-
-
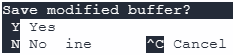
Click Ctrl+X to save the changes (the bottom line will appear with the query Save modified buffer?):
-
Click Y to save the changes, confirm saving to the directory by pressing Enter. After saving, the nano editor will close automatically.

-
Now you can clone a remote repository in Engee in the usual ways using multiple keys and from different hosting sites.