Text markup in Engee
General information
-
In text cells script editor
 (more details below):
-
And in annotations (for more information, see below):
In addition, when opening .md and .html files, a special interface is also used to simplify working with markup (see Markup of files in the format .md and .html).
Text markup in Engee is mainly used in the script editor, which uses interactive scripts with the formats .ngscript, .jl and `.ipynb'. Text cells with several markup modes are available for these formats (for more information, see Markup modes in text cells).
Markup modes in text cells
The markup in text cells is carried out in the following modes:
-
Visual editor (wysiwyg)
 — Instant text formatting mode (used by default, recommended);
 -
Markdown markup
 — manual editing of the source text in Markdown syntax;
 -
Preview
 — preview of the markup result without the possibility of editing.
Read more about the interface of text cells in the article Script Editor.
Visual editor (wysiwyg)
Script Editor ![]() Engee provides markup based on the paradigm WYSIWYG ("What you see is what you get"), which allows you to design content using the built-in toolbar without the need for manual text markup. WYSIWYG is used by default text cells.
Engee provides markup based on the paradigm WYSIWYG ("What you see is what you get"), which allows you to design content using the built-in toolbar without the need for manual text markup. WYSIWYG is used by default text cells.
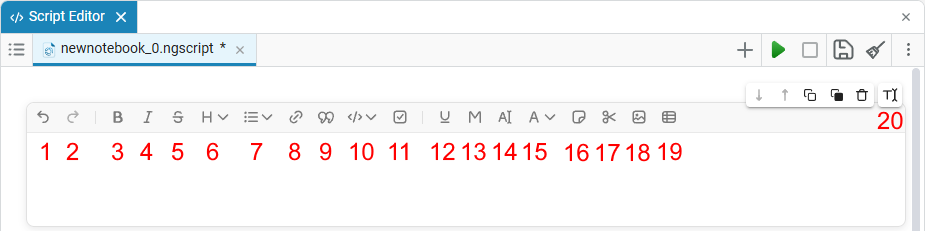
The WYSIWYG editor provides a wide range of tools for formatting text, inserting links, tables, images, and other elements. For this purpose, there is a panel of 20 buttons, each of which performs a specific function. With their help, you can:
-
Quickly arrange the text with the desired styles (bold, italics, underline, etc.);
-
Insert headings, lists, and checklists to form the script structure, hide subheadings (sections), etc.;
-
Post explanatory code, notes, citations, and notes;
-
Add a table, image, or link;
-
Set the color and background of the text to highlight important points;
-
Visually arrange the section into a hiding section (cat), for a better perception of information;
A detailed description of each WYSIWYG editor button is provided in article.
Formatting can be applied either using the buttons on the panel or using keyboard shortcuts or Russian-language symbols (for example, /Heading 1 for the first-level heading). At the same time, the editor automatically converts them into a clear visual style. For example, when you enter a slash character (/), a menu opens with available options. To select the desired one, just press Tab, Enter, press the corresponding hotkey or click with the mouse.
Markdown markup
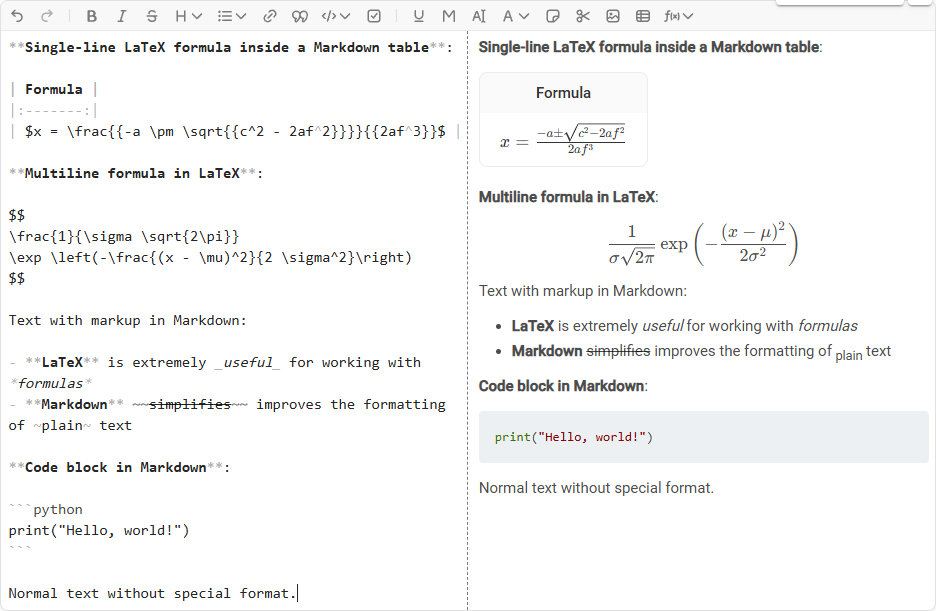
If your tasks require more complex markup, then use the Markdown editing mode. To do this, select the mode Markdown markup in the text cell editing modes of the script editor .
Mode Markdown markup It is designed for manual text input using the Markdown markup language syntax. This approach is useful when preparing complex structures (for example, nested lists, tables, and code) and allows you to edit and see the source markup directly.
Example of a text cell in the mode Markdown markup:
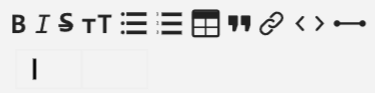
Markup in annotations
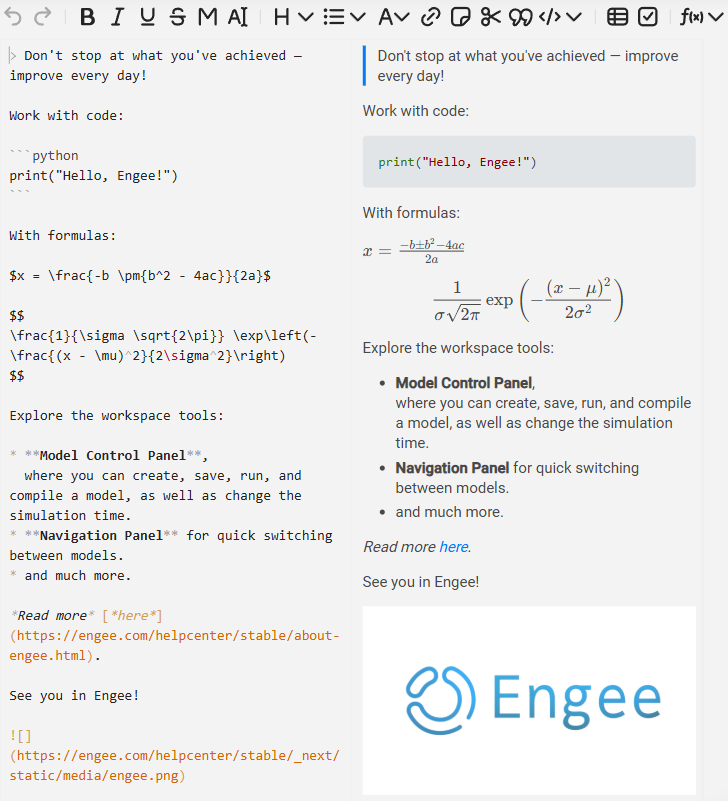
Annotations are areas in workspace Engee, into which you can add text and format it, add lines of code and images.
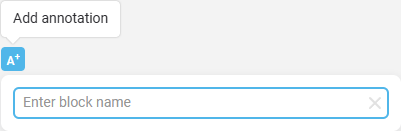
To add annotations, left-click on an empty area of the Engee workspace. This will open a context menu with a button Add annotation  *:
*:
Annotations, like text cells, use markup languages. Markdown with the ability to extend functionality using HTML and LaTeX.
Read more about working with annotations in Engee in the article Annotations.
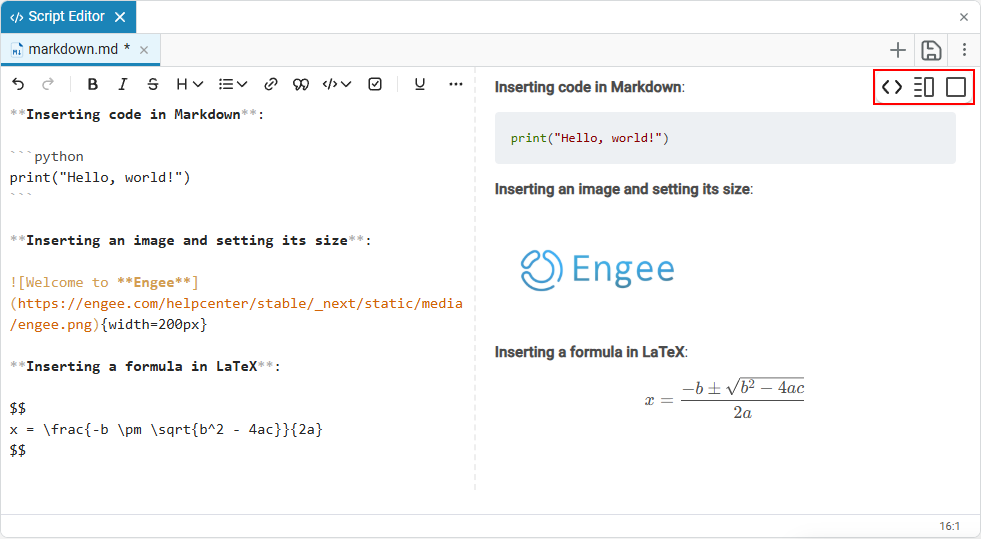
Markup of files in the format .md and .html
Format files .md and .html in Engee have additional interface elements in the script editor with three display modes:

-
Editor
 — displays only the editor with Markdown syntax.
 -
Editor and presentation mode
 — displays the editor and preview mode of the finished markup.
 -
Presentation mode
 — displays only ready-made markup.