Interface
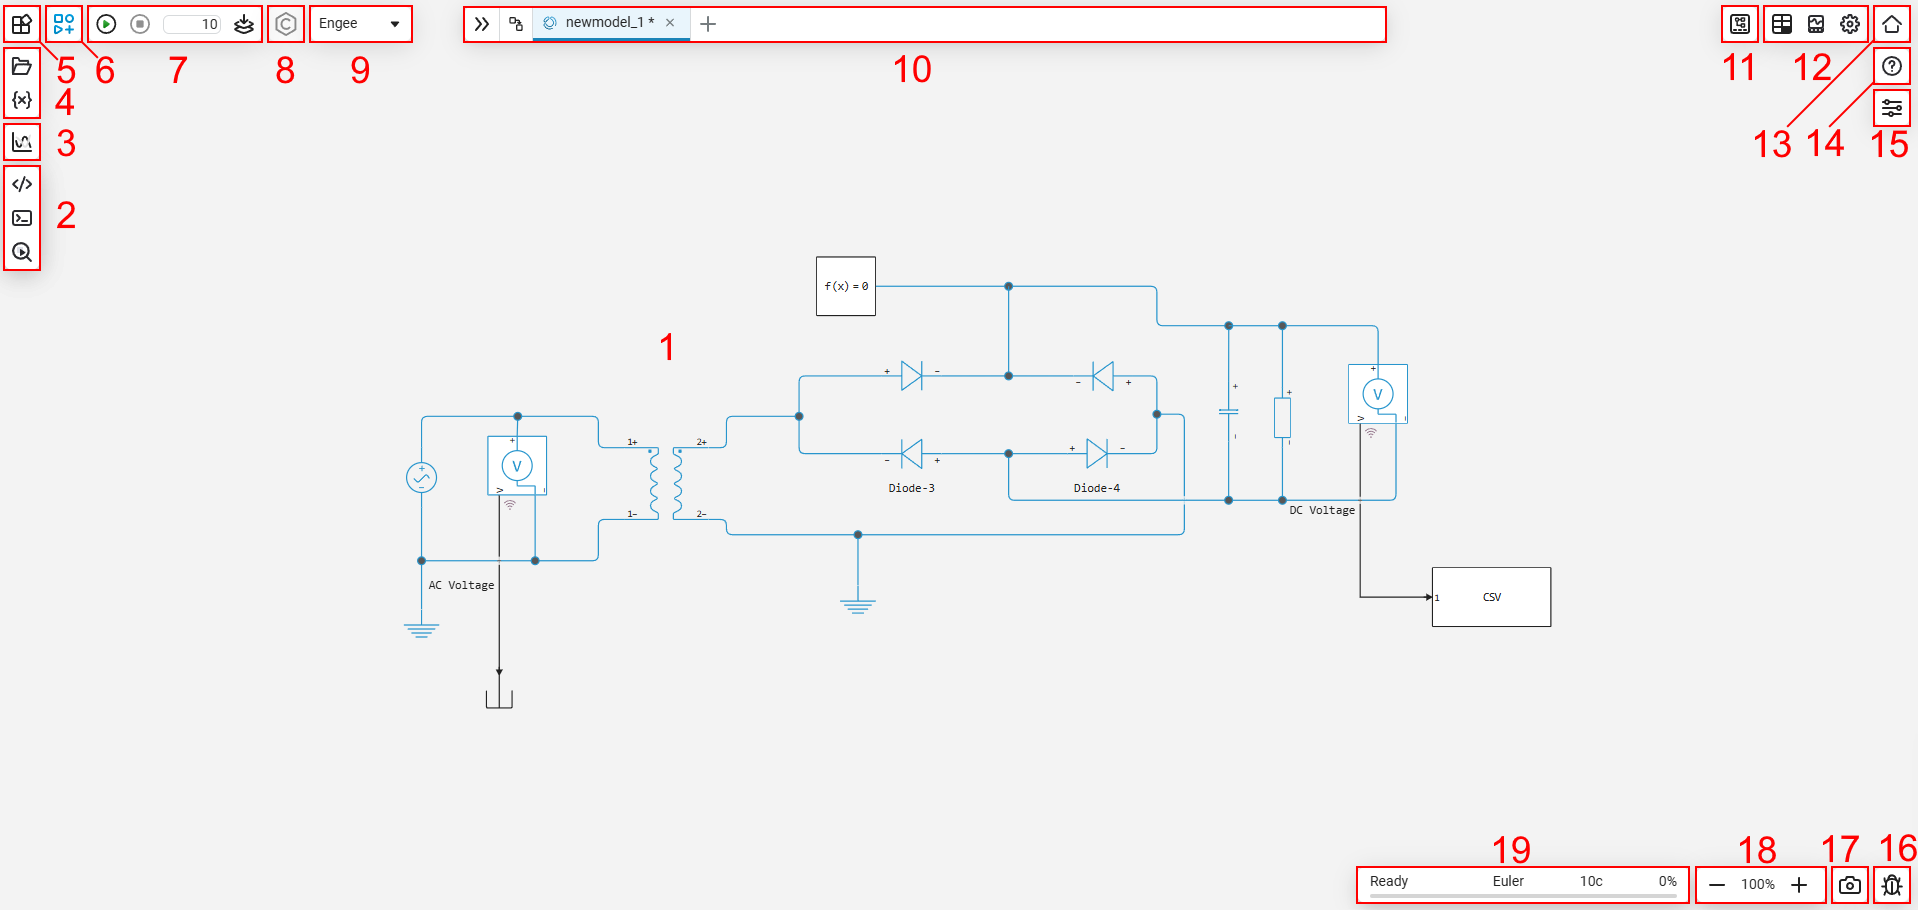
When starting the session Engee A workspace opens that includes the following elements:
|
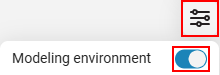
To display modeling tools (№5, 6, 7, 8, 9, 10, 11) click the switch "Modeling environment" in the window "Interface settings»
|
-
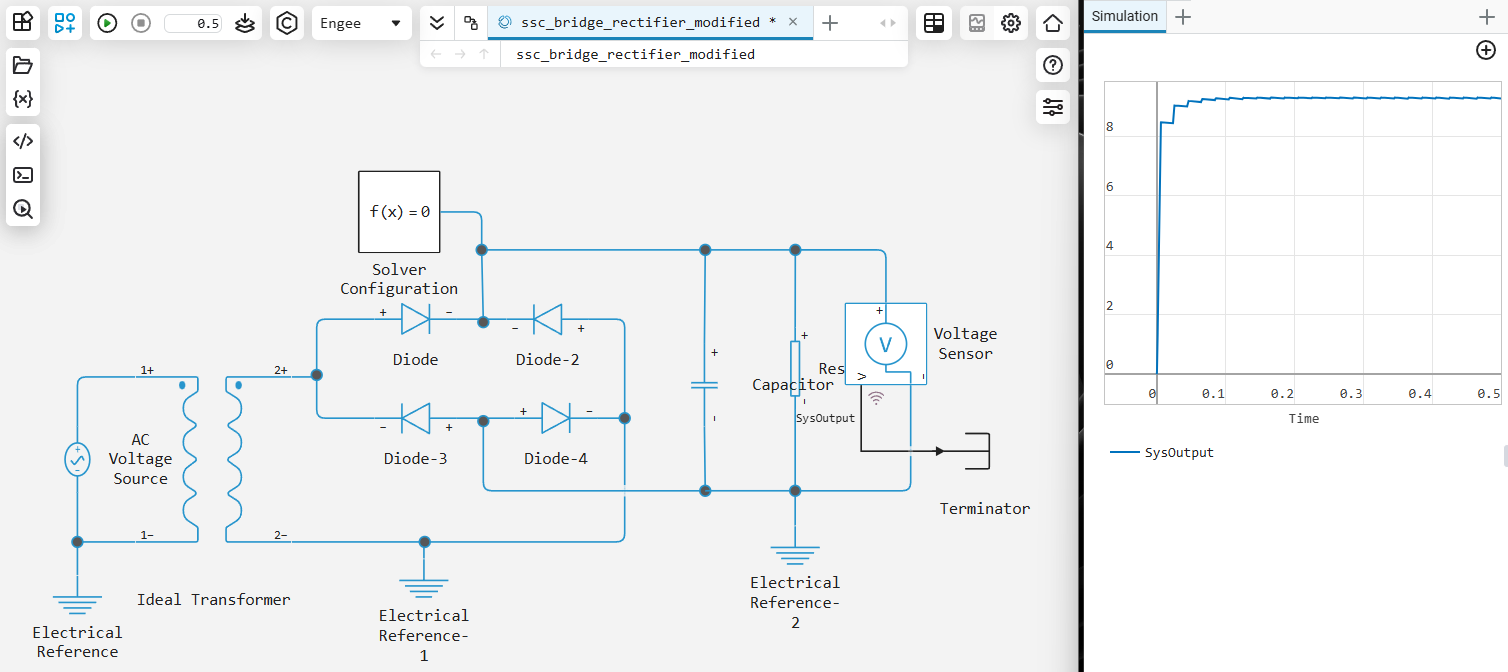
Canvas is the workspace on which the models are built.
-
Software Development section is a set of tools for working with code, consisting of script editor
 , command line
  and the windows model diagnostics
  .
. -
Charts
 — a data visualization tool that displays the results of work on the command line in the form of visual diagrams and graphs. For more information, see Charts.
 -
Files and Variables section is a set of tools for working with files and variables, consisting of file browser
 and variable windows
  .
. -
Apps
 — a set of applications consisting of data inspectors
  , RITM.Manager
  , digital filter editor
  , Radar Equation Calculate
  , Calculation of power grid modes
  and File analysis of digital substation
  . These applications open in a separate browser tab.
 -
The library of blocks
 — set blocks Engee, from which the models are assembled.
 -
Simulation Management section — a set of options for managing models. On this panel, the following are launched
 , stop
  , are being compiled
  models and their simulation time are adjusted.
 -
Code generation
 — a tool for generating code from models. Generation is implemented for C, Chisel, and Verilog (HDL) languages. Learn more about code generation in Engee read in the article Code generation.
 -
Switching the target platform
 — switching the target workspace platform between Engee (by default) and RITM.Manager. Learn more about how RITM works in the workspace Engee read in the article Model Settings.
 -
Model Navigation Panel — a panel for selecting the desired model and navigating through the hierarchy within a specific model.
-
Model Data Editor
 — a tool for controlling model signals. For more information, see the article Model Data Editor.
 -
Settings and Visualization section — a set of tools consisting of windows of physical variables
 , settings windows
  and signal visualization windows
  .
. -
Account
 — transition to personal account of the user.
 -
Documentation
 — transition to documentation Engee.
 -
Interface settings
 — a set of options for configuring the workspace. It includes language selection, interface layout, and more.
 -
Feedback
 — A tool for sending suggestions, bug reports, or requests for new features. You can also use it to restart the kernel. Engee.
 -
Make screenshot
 — a tool for saving images in PNG and SVG formats (not supported in Firefox). They are also supported bookmarks that allow you to quickly navigate between models and their nesting levels.
 -
Zoom Adjustment — Adjusts the scale of the canvas without affecting the scale of the interface or browser.
-
Status bar — displays the current status of the selected model solver, simulation time and its progress. It also allows you to navigate to tabs. settings windows
.
| For quick navigation through the workspace and in each tool, we recommend that you read the article on keyboard shortcuts Engee. |
Configuring the interface
In Engee you can customize the interface yourself (the location of windows on the canvas) or use ready-made options.:
-
To configure it yourself, move the desired window: hold it down with the left mouse button and drag it to one of the suggested workspace locations.:
You can place several tools together by dragging their headers with the left mouse button to the desired area.:
You can enlarge the window you need to work by double-clicking on its name with the left mouse button. Double-clicking again will return the window to its original position.:
-
To select a ready-made window layout, open Interface settings
and in the tab Layouts choose a suitable template: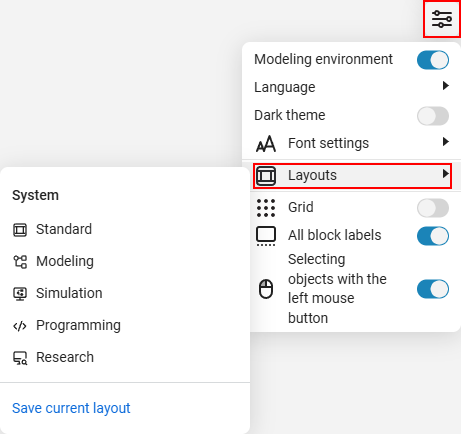
Description of the tool options Interface settings
presented below:The list of options in the Interface Settings window
-
Modeling environment — enables/disables modeling tools Engee.
-
Language — switches the interface between Russian and English.
-
Dark theme (experimental) — enables a dark theme in the workspace.
-
Font settings — opens the workspace font settings window Engee.
-
Layouts — displays the preset interface option:
-
Standard
 — opens the main workspace tools Engee, namely:
-
File browser with tabs for variables and block libraries;
-
Script editor and command line;
-
Charts and settings windows.
-
-
Modeling
 — opens the library of blocks and settings.
 -
Programming
 — opens variables and script editor.
 -
Research
 — opens the script editor and the graph window.
 -
Simulation
 — closes all workspace tools.
 -
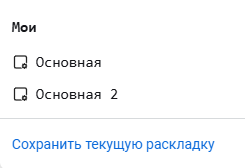
Save current layout — saves the interface layout Engee. It is possible to save multiple templates:
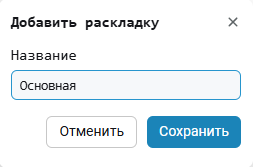 →
→ 
-
-
Grid — includes a grid on the canvas.
-
All block labels — includes model block signatures.
-
Selecting objects with the left mouse button — enables the selection of objects using LMB (disabled by default). When activated, it allows you to select an area with objects by holding down the left mouse button to transfer them.
-
Left and right mouse button actions on the canvas
In Engee Some operations are accessible directly from the canvas by clicking on the free area and blocks.:
-
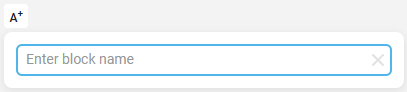
Paint on the free area of the canvas — opens the quick add panel: enter the block name in the field "Enter block nameto find it, and then add it to the canvas. The A+ button in this panel allows you to add annotation on canvas:
-
LMB by block — selects a block and opens its window settings
. -
LMB for any interface window — makes it active, after which it becomes available keyboard shortcuts for the corresponding window.
-
PCM on canvas opens the context menu of the canvas, where you can arrange the model.
-
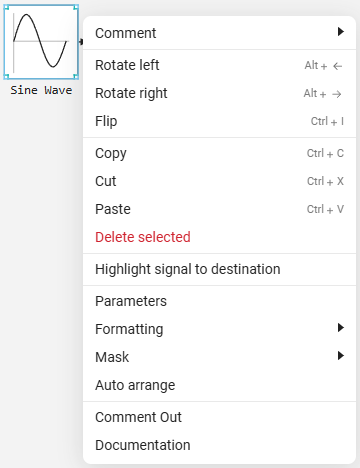
PCM on the block opens the context menu of the block control. Additional commands are available in it:
-
Selecting objects on the canvas — allows you to perform group actions on one or more elements (comment/disable, convert to different views subsystem, change color or hide):

By default, it is more convenient to set the selection area using Shift+LKM. To switch the selection to LMB, enable the option Selecting objects with the left mouse button in the window "Interface settings»
.
Appearance
In addition to interface settings, you can control the appearance of the workspace.:
-
Change the text and borders of model blocks:
-
Change the font size of the interface:
-
Sign signals:
-
Interface windows can be detached to open them in a new browser window and move around the entire monitor screen, not just inside the workspace. Engee:
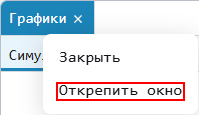
-
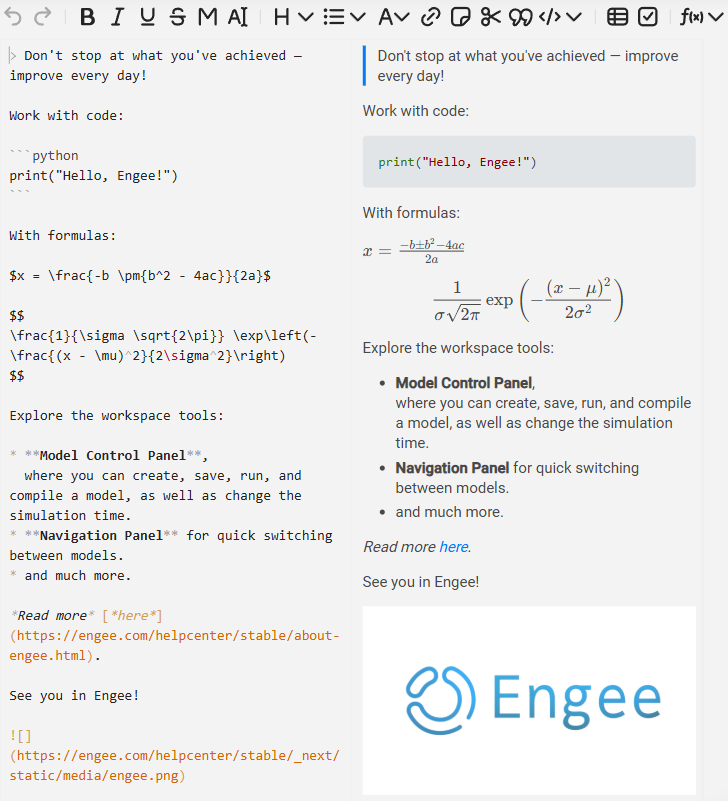
Add annotations using markup to make the workspace more visual:
-
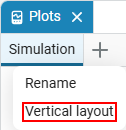
Vertically position tabs in the signal visualization window, charts, and settings, callbacks and the script editor:
 →
→ 