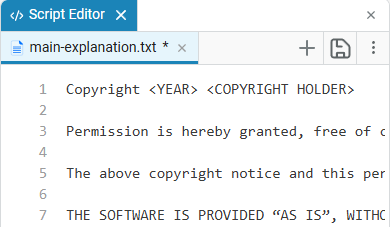
Script Editor
Script Editor ![]() — this is an Engee workspace tool designed to work with interactive scripts.
— this is an Engee workspace tool designed to work with interactive scripts.
An interactive script (or simply script) is a file containing several sequentially executed commands.
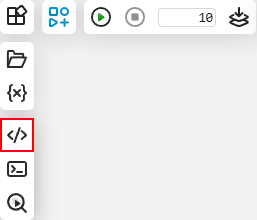
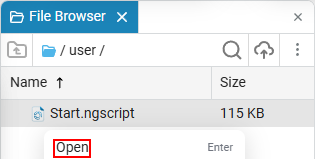
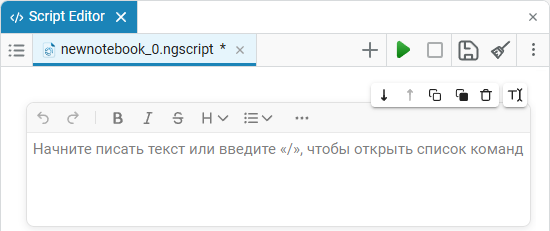
To open Script Editor, click on the icon ![]() in the workspace:
in the workspace:
Working with scripts
Creating a script
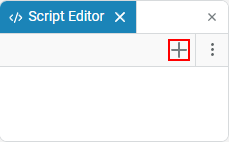
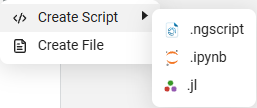
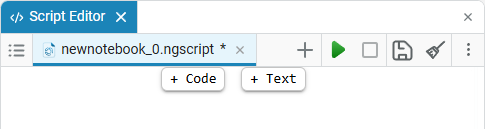
To create a script, click + in the script editor and select the desired format.:
 →
→ 
|
By default, Engee scripts have the format
|
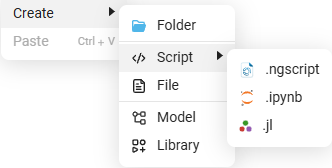
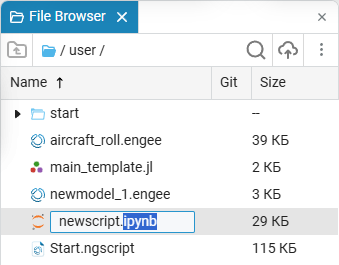
You can create a script using file browser  . To do this, right-click in the empty area of the file browser window to open the context menu, then select Create and Script:
Script Editor Sections
You can create code or text cells in the script editor.
To create cells, move the mouse pointer to the top edge of the script editor window to display the cell selection button.:
-
+ Code — creates a new section with a code (code cell). All the possibilities of writing code in this cell are available. the Engee programming language.
-
+ Text — creates a new section with text (text cell). In this section, you can add and format any description, pictures, tables, links, etc.
| New sections can be added anywhere in the workspace of the script editor (for example, at the beginning, end, or between two other sections). |
The section with the code
Let’s create a section with the code and look at its interface.:

-
Run and advance — executes the code in this section.
-
Run to end — executes all sections with the code below the selected section.
-
Run before cell — executes all sections with the code above the selected section.
-
Change position of output — selects a position for withdrawal. It has two options:
-
4.1. Code output on the right — displays the result on the right for a specific section.
-
4.2. Hide code output — hides the selection of the result for a specific section.
-
-
Mask — adds a mask for the selected code cell (for more information, see Masks of code cells).
-
Move down — moves the section one down.
-
Move up — moves the section one up.
-
Copy — copies the section.
-
Paste — inserts a section.
-
Remove — deletes a section.
In the code cell, you can also:
-
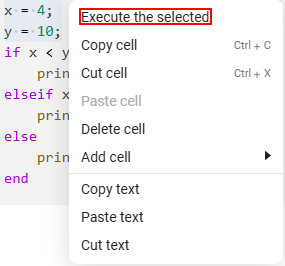
Execute the selected section of the code (PCM on the selected line or hotkey Shift+F7) and Execute the selected:
-
Execute the current line with the cursor (Ctrl+Shift+F5 on Windows/Linux or Shift+⌘+F5 on macOS).
Section with text
| To work with text cells, the WYSIWYG editor is used by default ("What you see is what you get"). For more information about text markup using the editor, see link. |
Create a section with the text:
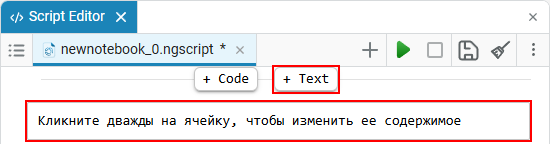
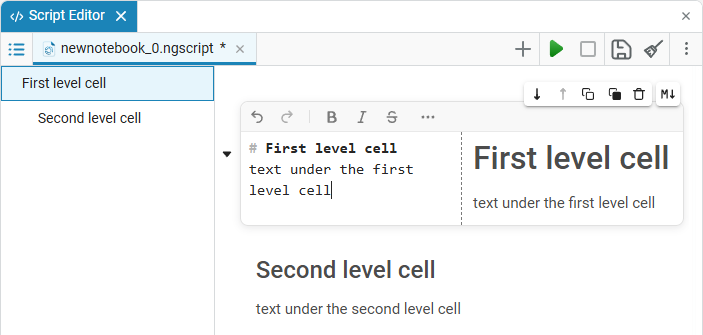
Double-click on the section to open the input field, now you can enter the desired text in the cell that appears.
A markup language is used to format the text. Markdown with the ability to extend functionality using HTML and LaTeX. Read more about the markup in a text cell in the articles Text markup in Engee and Working with Markdown in Engee.
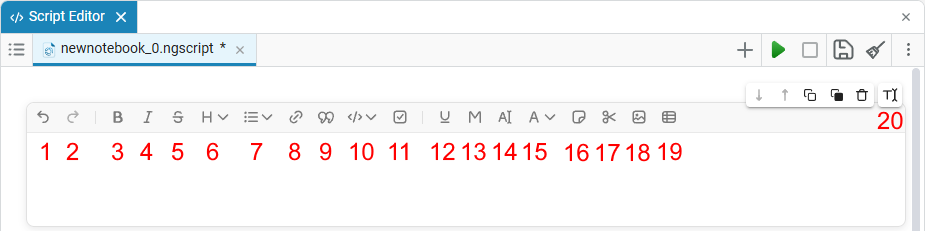
Consider the interface of the text section:
-
 — cancels the last action.
 -
 — repeats the last canceled action.
 -
 — applies bold font to selected text.
 -
 — makes the highlighted text in italics.
 -
 — applies a strikethrough effect to the text.
 -
 — sets the header level (H1-H6).
 -
 — creates a bulleted or numbered list.
 -
 — inserts a hyperlink.
 -
 — forms the text as a quotation.
 -
 — highlights the text as a piece of code.
 -
 — adds a checkbox for tracking tasks.
 -
 — highlights the selected fragment.
 -
 — uses a monospaced font.
 -
 — highlights the text background.
 -
 — changes the color of the text.
 -
 — adds a block of notes.
 -
 — adds a hiding section.
 -
 — inserts an image.
 -
 — adds a table.
 -
 — edit mode, select one of the three modes:
-
- WYSIWYG visual editor, immediately displays formatting without markup languages (used by default, recommended);
-
 — Markdown markup, manual editing of the source text;
 -
 — displaying the result (preview) without the possibility of editing.
-
Similar to code sections in text cells, the following commands are used: move, copy, paste, and delete.
Hiding cells and contents
To hide cells in the Engee script editor, the text cell must be marked as a paragraph using Markdown, as well as have the appropriate level and location.:
-
The cell must contain a Markdown header from level 1 to level 6 (
,#and so on). -
There should be a cell with a lower-level header under the top-level header.
In the script editor, you can hide:
-
code cells (have the lowest header level);
-
text cells without headings (also the lowest level);
-
text cells with lower-level headings.
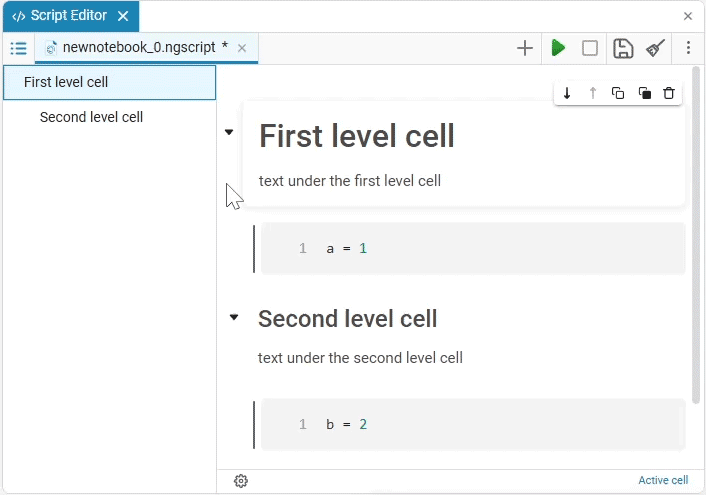
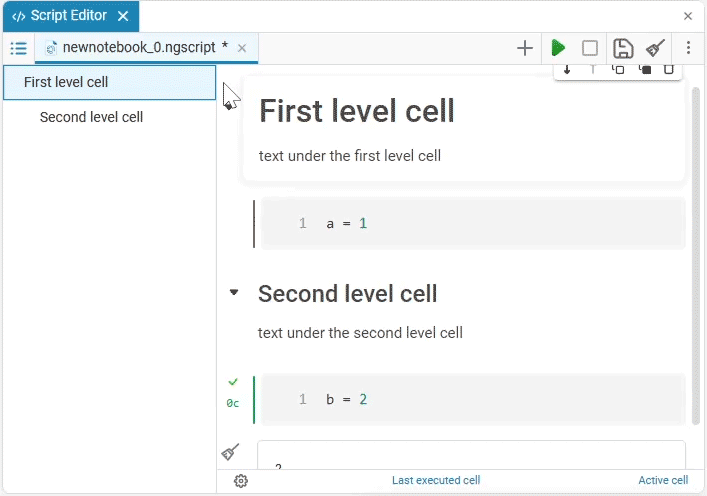
If there are, for example, 10 code cells under a text cell with a first-level header, then this forms one section that will be hidden. When the 11th cell appears, a new paragraph with a heading of the first level or the same level as the first text cell, a new section begins.
The headings of the text cells from the first to the sixth level form Contents  :
:
In the content, you can:
-
Add paragraph
 — adds a text cell with a title to a higher level. For example, if a nested paragraph is added to a first-level text cell (
), then it will become a second-level cell (#). When the maximum nesting is reached (the last text cell has a sixth—level heading), the button is unavailable. -
Play paragraph
 — starts the execution of all cells with the code of the selected paragraph. If the paragraph does not contain code cells, the button is unavailable.
 -
Remove paragraph
 — deletes the selected paragraph. Headings and code cells nested in the section of the paragraph will not be deleted.
Starting/stopping scripts
To start or stop the script, click Run script or Stop execution. The buttons are located on the script launcher.:
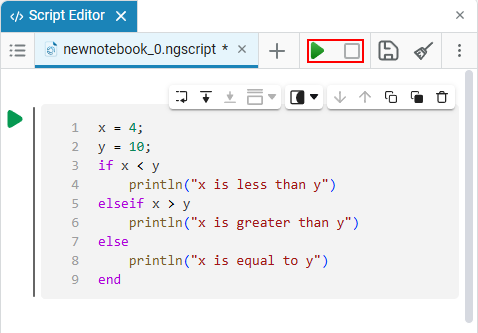
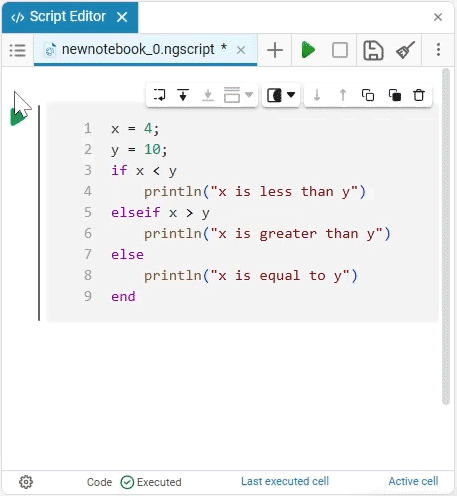
To start the section with the code, click on Execute. The result will be displayed below under the section:
You can collapse the code execution output into a more compact form if it takes up too much space. To do this, use the button Unexpand output  :
:
To return the output to its previous state, use the button Expand output  .
.
To clear the results of code sections in the script, click on the icon Clear output on the script launcher.


Additional settings
Script Editor It provides a number of additional settings that help simplify working with code and text. They will be useful when working with large files, parallel script editing, or text files.
To access these settings, click on the colon icon in the upper-right corner of the script editor.:
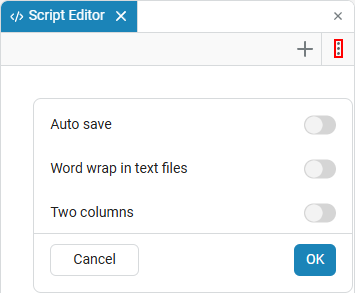
Auto save
Function Auto save allows you to save changes to interactive scripts automatically, preventing data loss.:
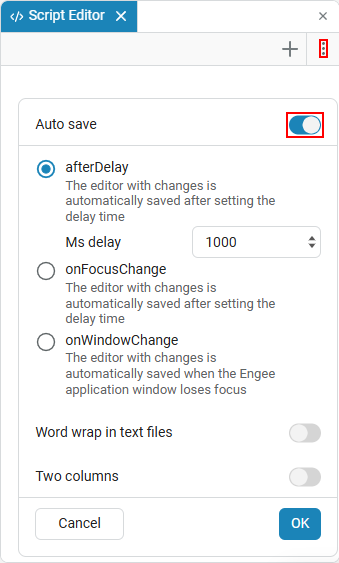
There are three auto-save options available:
-
afterDelay — The script is automatically saved after a certain delay time. When this option is selected, the default delay is 1000 ms.
-
onFocusChange — the script is automatically saved after the editor loses focus. This means that when switching to another Engee window, the changes in the script editor will be saved.;
-
onWindowChange — The script is automatically saved when switching from the browser tab where Engee is open to another tab. This means that when you change the browser tab from Engee to any other, the changes in the script editor will be saved.
Word wrap in text files
|
Function Word wrap in text files It is displayed in the advanced settings menu in the following cases:
In other cases, the function is hidden. |

Function Word wrap in text files enables word wrapping in text files (not to be confused with text cells). This means that strings in text files (in formats such as .txt or .json) are automatically transferred to a new line without horizontal scrolling.:
The function is enabled |
The function is disabled |
|---|---|
|
|
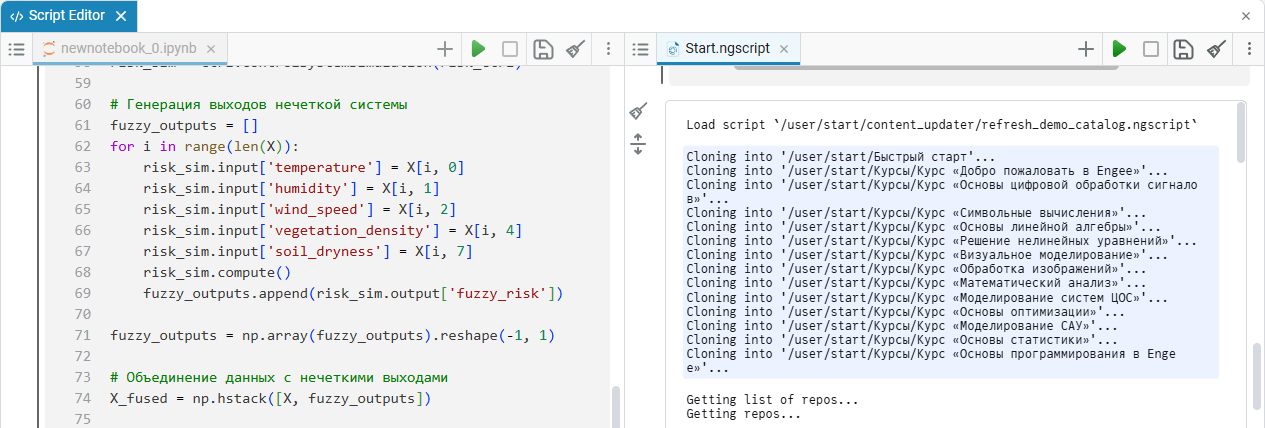
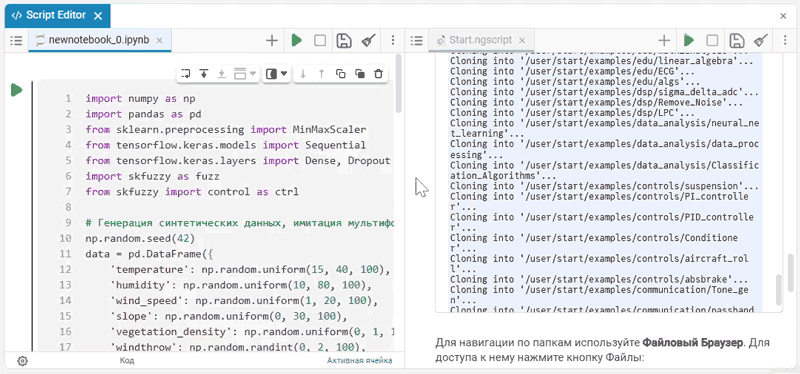
Left-right split
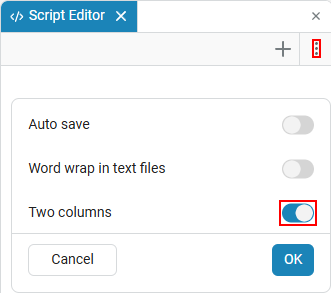
Function Left-right split enables the two-column mode, in which the editor window is divided into two parts. This allows you to open and edit two interactive scripts at the same time.:
The width of the columns can be easily adjusted: hover the cursor over the border between the columns, hold down the left mouse button and drag the divider in the desired direction.:
Masking code cells
Script Editor supports the ability to turn variables in code cells into convenient interactive elements — drop-down lists, input fields, sliders, and other control components. To do this, the code cell mask mechanism is used to improve the visual representation of scripts, hide technical implementation details, and simplify data entry.
To apply a mask, use the tool Mask  which appears when you hover the cursor over the code cell:

For more information about the types of masks, settings, and manual operation, see Masks of code cells.
Breakpoints
The Engee editor supports adding breakpoints to code cells. This is convenient when debugging scripts — code execution is paused at the desired line, which allows you to step-by-step examine the behavior of the program and find errors.
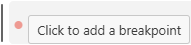
To set a breakpoint, hover over the left border of the desired line and left-click.:
To set the conditions, delete, or temporarily disable a breakpoint, you can use the context menu (red dot PCM).
Engee offers various types of breakpoints: basic, conditional, delayed execution, and others. Trigger conditions can be set using expressions, the number of iterations, or dependence on other points.
For more information about working with breakpoints, see Breakpoints of the script editor.
Software management methods
Using public methods (for more information, see Public methods of program management) you can manage Engee scripts without using the script editor interface. These commands are designed to work with script editor files and are invoked via engee.script. Let’s look at each of these methods.:
@include — includes (embeds) script code instead of calling a macro.
For example, we have a script named new.ngscript, in which the code is written — a = 1. Let’s create another script, new_1.ngscript, in which we will access the first one along the absolute path through @include:
engee.script.@include("/user/new.ngscript")The result of executing the code of the first script a = 1 it will be included in the second script and will be equal to 1.
Team @include and the embedded code should not be in the same script. Otherwise, a cyclic dependency error will occur when @include I have to call myself.
|
edit — opens the script for editing.
Opens the script for editing using the specified path. If there is no script file, it is created automatically.
engee.script.edit("/user/new.ngscript")
If an extension other than is specified .ngscript, then an error is displayed ErrorException("path should end with.ngscriptextension").
|
extract_code — extracts the code in the specified path.
Extracts the code from the script using the specified path. For example, for the new.ngscript script with the code a = 1:
engee.script.extract_code("/user/new.ngscript")Conclusion:
:($(Expr(:toplevel, :(#= none:1 =#), :(a = 1))))For more information about other public methods used in scripts, see the article Software control of modelling.