Working with Engee documentation
Engee Documentation is not just a reference, but a full—fledged navigator for the functionality of the entire platform. It covers both basic topics (such as running applications or basic modeling) and advanced scenarios such as integrating third—party code, generating it into external languages, visualizing it, and connecting external devices.

So, when working with Engee, various questions may arise.: how to assemble a model correctly, how to implement a control system, how to embed a neural network, or how to run a semi-natural simulation on a rhythm. All this is already described in detail in the documentation, but in order not to waste time randomly wandering through its sections, it is important to understand from the very beginning:
-
How the documentation structure works;
-
Where to find the right materials for a specific task;
-
How to use the built-in examples and courses;
-
How to quickly find answers using the built-in search;
-
How to leave feedback if something is wrong in the documentation.
This article will help you quickly get used to the documentation, understand its structure, learn how to effectively search for the right materials and get the most out of the platform.
How to open the documentation
The Engee documentation can be opened in various ways, either from the browser or directly from the workspace.:
-
Through the browser — the most universal way: follow the link https://engee.com/helpcenter/stable/ru/index.html. This immediately opens the main documentation page, works on any device, and does not require starting an Engee session.
-
From your personal account — on the main page of your personal account
 The Engee Documentation button is available. One click — and you are immediately in the documentation. This is convenient for quick access to information and also does not require starting an Engee session.
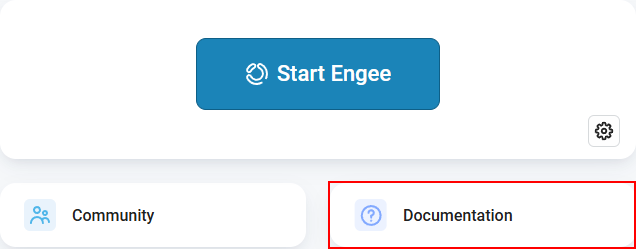
-
From a running Engee session — there are several ways to navigate to the desired section directly from the Engee workspace*:
-
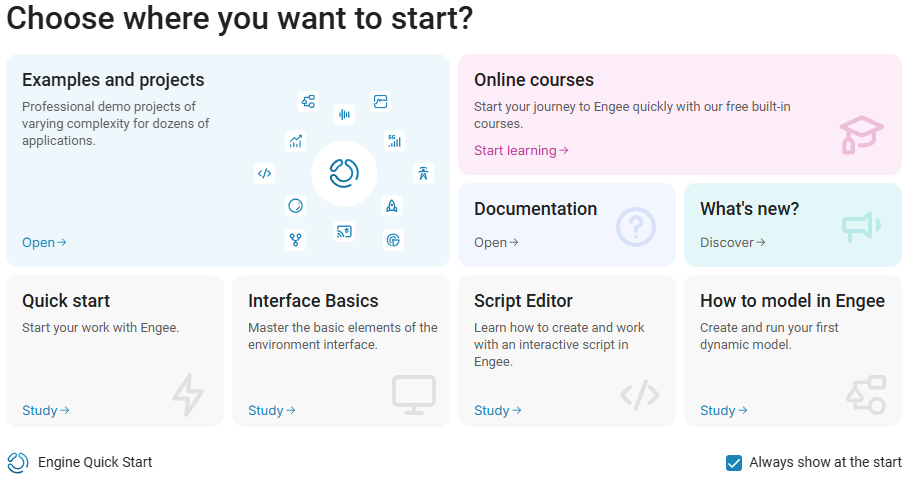
When launching the platform, if the "Always show at startup" checkmark is enabled, then links to popular documentation sections will be displayed in the start window when the session starts.:
-
Button Documentation
 — located in the upper right corner of the interface, accessible from any window.
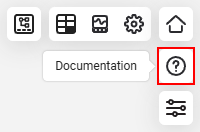
-
Context menu of the block — double-left-click on the block from Libraries
 and in the settings window that opens settings windows
  in the tab Information select "Documentation"
  — the corresponding article on the block will open:
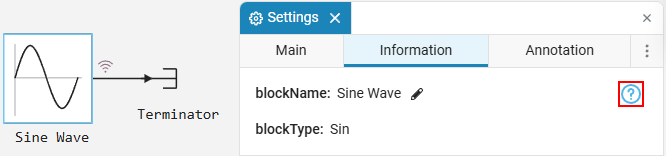
To open the settings window, it is not necessary to put the block on the canvas, double-clicking will work in the library itself. .
-
Documentation structure
The Engee documentation is organized into sections. All available sections and their pages are presented in the left side menu of the documentation.:
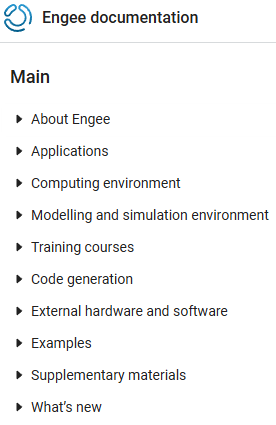
Any section opens its contents by clicking the left mouse button. Next, let’s briefly review these sections.:
-
About Engee is the first entry point for studying the platform documentation. It describes what Engee is and how it works. workspace, how to work with applications
 and how use your personal account. To get acquainted with the platform, it is recommended to start with the article Engee Quick Start.
 -
Applications — a section with documentation on Julia language packages for various tasks. This section describes packages for working with statistics, machine learning, optimization, neural networks, signal and image processing, radar, communications, maps, and many other useful areas.
-
Computing Environment — this section is aimed at engineers and programmers working with code. It describes working with mathematics, data import, graph construction, Julia syntax, integration of third-party code, and much more.
-
Modeling and Simulation Environment — this section describes everything about creating and managing models: visual modeling, a library of blocks, software simulation management, finite automata and semi-natural modeling.
-
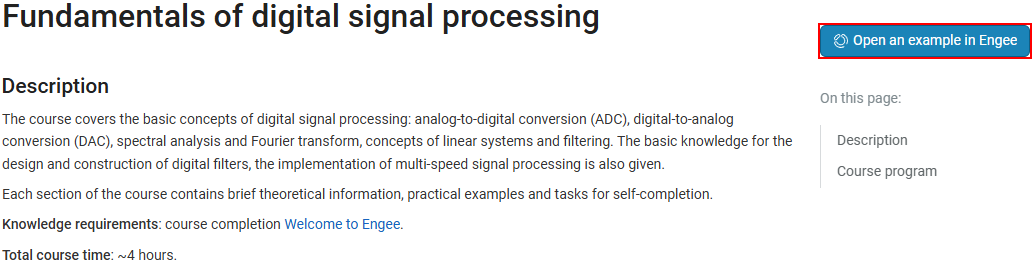
Training courses — sets interactive scripts on the main topics: programming, modeling, mathematics, signal processing, optimization, modeling of electrical and energy systems, DSP, ACS, etc. For more information on working with courses, see the article How to get course materials.
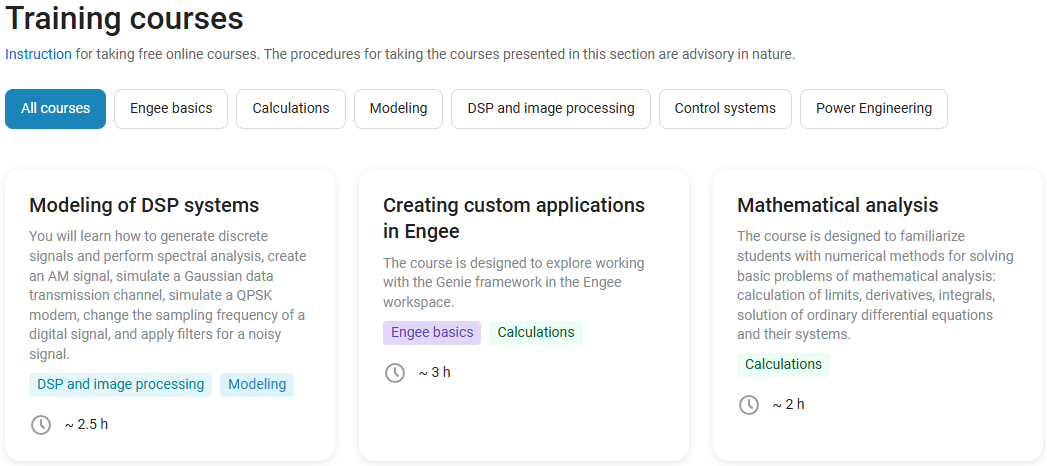
Courses can also be launched directly from the documentation pages by simply clicking the "Open an example in Engee" on the page of the desired course:
-
Code generation is a key section for those who want to export models to program code. It includes materials on broadcasting in C, HDL, Julia, setting up custom generation templates, and practical examples.
-
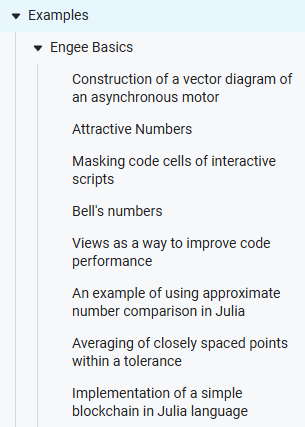
Examples — interactive demonstrations launched by clicking "Open in Engee". On the main page with examples, each interactive block displays the first three examples related to the selected area when hovered over. This is a convenient way to quickly get acquainted with the basic features and typical work scenarios.:
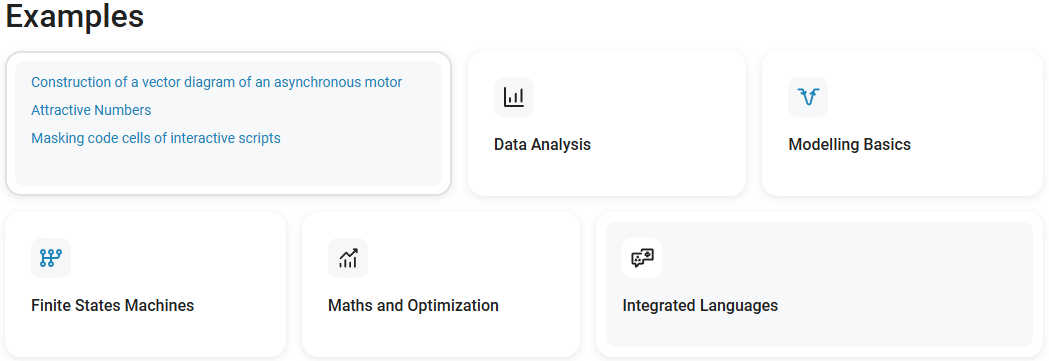
At the same time, a complete list of all available examples on specific topics (radio communications, signal processing, mechanics, etc.) is located in the subsections in the left side menu.:
-
Additional materials — describes interaction with Git, the Engee API, as well as the use of terminology dictionaries.
-
What’s new — the history of changes and updates to the platform. It is useful to keep track after installing a new version to understand which features have been added, what has been improved, and what bugs have been fixed.
How are the articles in the documentation arranged?
Color bars
Many articles use color—coded text bars to help you quickly navigate through the type of information. Each of them suggests how to perceive the highlighted information.:
|
Contains additional information or context. It is optional, but it helps to understand the topic better. You can read for general understanding and to broaden your horizons. |
|
Useful recommendations, tricks and hints. They help simplify work, speed up operations, or use functionality more efficiently. |
|
Key points, without which the implementation of the described actions may be incorrect. Be sure to read it before proceeding — it may be a requirement for parameters, data, or a sequence of actions. |
|
Warnings about risks: the possibility of error, incorrect operation or data loss. They require special attention and accuracy when doing what is described. |
|
Warning about potentially dangerous actions. Such dies are used in cases where execution may lead to critical failures, project damage, or unsafe system behavior. Maximum caution should be exercised. |
The menu of subheadings
All the subheadings inside the article are displayed in the right side menu of the documentation. Just left-click on the name of the desired title and the article will automatically transfer to the desired topic.:
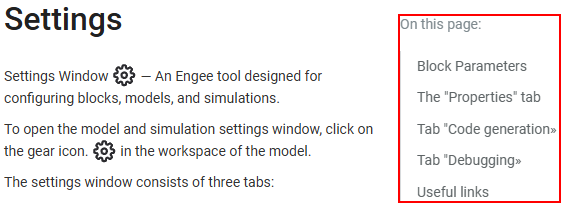
This helps you quickly navigate to the desired section — especially convenient on long pages.
|
You can share links to a specific section of the article: just hover over the subtitle and the link icon will appear to the left of it. By clicking on it, you will add an anchor to the URL of the page. You can send this URL to colleagues or save it to quickly navigate to a specific point in the article.
|

Sections "For experienced users"
Sometimes there are dies marked "For advanced users":

This means that such sections contain complex or rare work scenarios: integration of non-standard libraries, use of advanced simulation parameters, custom template settings, etc. Such sections are optional for execution/study, but can be useful for experienced developers and enthusiasts.
Documentation search
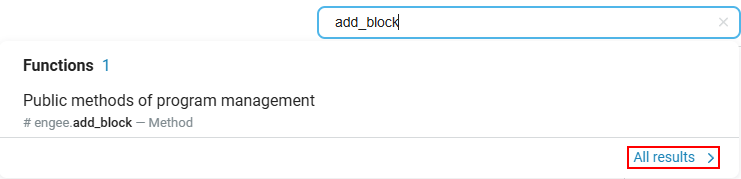
There is a search bar in the upper right part of the documentation. She supports:

-
Quick preview of the results;
-
Links to relevant articles;
-
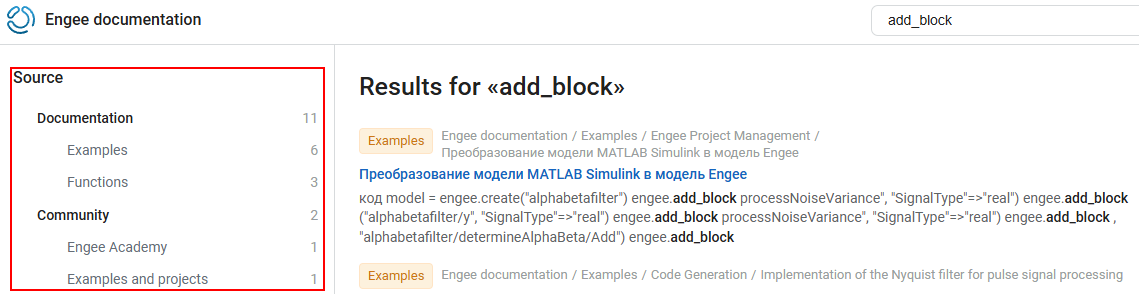
The ability to go to "All Results" to use filters from the side menu and refine the query:
 →
→→
If you can’t find what you need right away, just use the advanced search!
Interface language and localization
In the upper-right corner, next to the search bar, there is a button for switching the documentation language. Russian is enabled by default, but you can choose English or Chinese if necessary.:
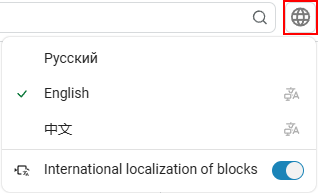
In addition, the option "English block localization" is available below. When activated, the names of blocks and sections in the library are displayed in English. This may be convenient for those who work with English-language projects or prefer terminology in English.
How to report an error
If you notice an inaccuracy or typo in the article:
-
Select the problematic text fragment with the left mouse button;
-
Wait a couple of seconds — a link will appear with the text "If you found an error…":

-
Click on it to open a form for sending a message.:
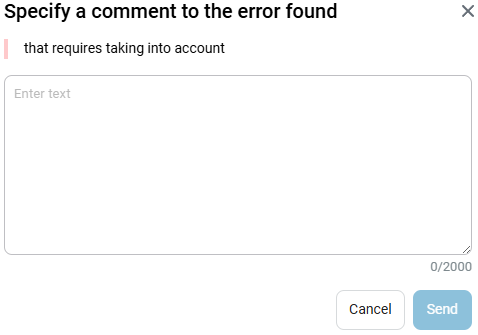
This will send the information directly to the documentation developers!