Arduino Support Package
|
Before you start, do the general preparation and setup from the article Running models on target hardware. It describes the general steps for running models on target hardware: environment preparation, connection, generation/assembly, and basic startup verification. |
To work with Arduino-compatible boards in this mode, the block is used EDM-Target-Arduino, which sets up interaction with the equipment.
Before starting work, you must install arduino-cli is a toolchain for compiling and firmware of Arduino hardware. After installation, copy the full path to the executable file arduino-cli[.exe] and specify it in the corresponding parameter of the EDM-Target-Arduino block.
|
To automatically search for arduino-cli in the EDM-Target-Arduino block for the parameter Путь к ArduinoCLI: specify the value
If the arduino-cli is not found automatically, then specify the full path manually, for example:
|
| To work with Arduino-compatible clones, you may need to install an additional driver. For example, the Arduino Mega 2560 clone board for Windows requires a CH340 driver. |
Preparation
Make sure that the hardware support package is installed and configured. Its installation is described in detail in the section Hardware connection.
Checking the arduino-cli installation
After installing the arduino-cli, it is recommended to check its performance before starting work with the Arduino support package.
Step 1. Checking the arduino-cli version
Open a terminal (command prompt) and run:
arduino-cli versionExpected result: The arduino-cli version should be displayed, for example:
arduino-cli Version: 0.35.3 Commit: 7a72ce6 Date: 2023-11-15T12:30:00Z
If the command is not found:
-
Windows: Make sure that the arduino-cli is added to the environment variable PATH (recommended) or specify the full path:
"C:\Program Files\arduino-cli\arduino-cli.exe" version -
Linux: Check the installation through the package manager or install manually.
Step 2. Initialize the configuration
Create an arduino-cli configuration file:
arduino-cli config initExpected result: A configuration file will be created:
-
Windows:
%USERPROFILE%\.arduino15\arduino-cli.yaml -
Linux:
~/.arduino15/arduino-cli.yaml
Step 3. Updating the Platform Index
Update the indexes of available platforms:
arduino-cli core update-indexExpected result: A message about a successful index update.
Step 4. Install the platform for your board
Determine the FQBN (Fully Qualified Board Name) of your board:
arduino-cli board listallFind your board in the list and install the appropriate platform.:
-
For Arduino Uno/Nano/Mega (AVR):
arduino-cli core install arduino:avr -
For ESP8266:
arduino-cli core install esp8266:esp8266 --additional-urls http://arduino.esp8266.com/stable/package_esp8266com_index.json -
For ESP32:
arduino-cli core install esp32:esp32 --additional-urls https://espressif.github.io/arduino-esp32/package_esp32_index.json -
For STM32:
arduino-cli core install STMicroelectronics:stm32 --additional-urls https://github.com/stm32duino/BoardManagerFiles/raw/main/package_stmicroelectronics_index.json
Expected result: A message about the successful installation of the platform.
Step 5. Installing drivers (if necessary)
Windows
Some clone boards (such as the Arduino Mega 2560) may require a CH340 driver.:
-
Download the driver from the manufacturer’s official website.
-
Install the driver.
-
Reconnect the board.
-
Check if the new COM port appears in the Device Manager.
The STM32 ST-LINK/V2 on Windows requires installation drivers.
Linux
Usually, Serial controller drivers are built into the kernel. If the fee is not determined:
lsusbCheck the availability of your card in the list. Add udev rules if necessary.:
# An example for Arduino
echo 'SUBSYSTEM=="tty", ATTRS{idVendor}=="2341", MODE="0666"' | sudo tee /etc/udev/rules.d/50-arduino.rules
sudo udevadm control --reload-rules
sudo udevadm trigger
To install programmer drivers, use the package manager, for example:
sudo apt install stlink-toolsStep 6. Checking the connection of the board
Connect the board to the computer via USB and run:
arduino-cli board listExpected result: A list of connected cards should be displayed, indicating the port.:
Port         Protocol Type              Board Name  FQBN                          Core
/dev/ttyUSB0 serial   Serial Port (USB) Arduino Uno arduino:avr:uno               arduino:avr
Remember the port address (for example, /dev/ttyUSB0 for Linux or COM3 for Windows).
Step 7. Create and compile a test sketch
Create a test project or create a file test_blink/test_blink.ino with content:
void setup() {
    pinMode(LED_BUILTIN, OUTPUT);
}

void loop() {
    digitalWrite(LED_BUILTIN, HIGH);
    delay(1000);
    digitalWrite(LED_BUILTIN, LOW);
    delay(1000);
}-
Arduino UNO
Perform the compilation:
arduino-cli compile --fqbn "arduino:avr:uno" test_blinkComplete the download:
arduino-cli upload --fqbn "arduino:avr:uno" test_blink -
STM32
For example, take the STM32F411CEU6 "Black pill" debugging board.
To get all the available Board part number (pnum) and additional information about your board, use the command:
arduino-cli board details -b STMicroelectronics:stm32:GenF4Specify the Board part number in the line
fqbn. Perform the compilation:arduino-cli compile --fqbn "STMicroelectronics:stm32:GenF4:pnum=BLACKPILL_F411CE" test_blinkComplete the download, specify
upload_methoddepending on the one you use:arduino-cli upload --fqbn "STMicroelectronics:stm32:GenF4:pnum=BLACKPILL_F411CE,upload_method=OpenOCDSTLink" test_blink
Expected result: Successful compilation and download without errors. The LED on the board is blinking.
Troubleshooting issues
| Problem | Decision |
|---|---|
|
Add the arduino-cli to |
|
Check the USB cable and install the drivers. |
|
Add the user to the dialout group: |
|
Execute |
|
Check the correctness of the FQBN and the availability of installed libraries. |
Setting up and launching the model
-
Open the model Engee.
-
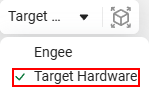
Click on the target platform selection button and select Target Hardware:
-
Add the EDM-Target-Arduino block from block libraries on canvas Engee and assemble the model or run the command
engee.package.getdemos("Engee-Device-Manager") and open the demo modelexample_arduino-monitor-and-tune.engee.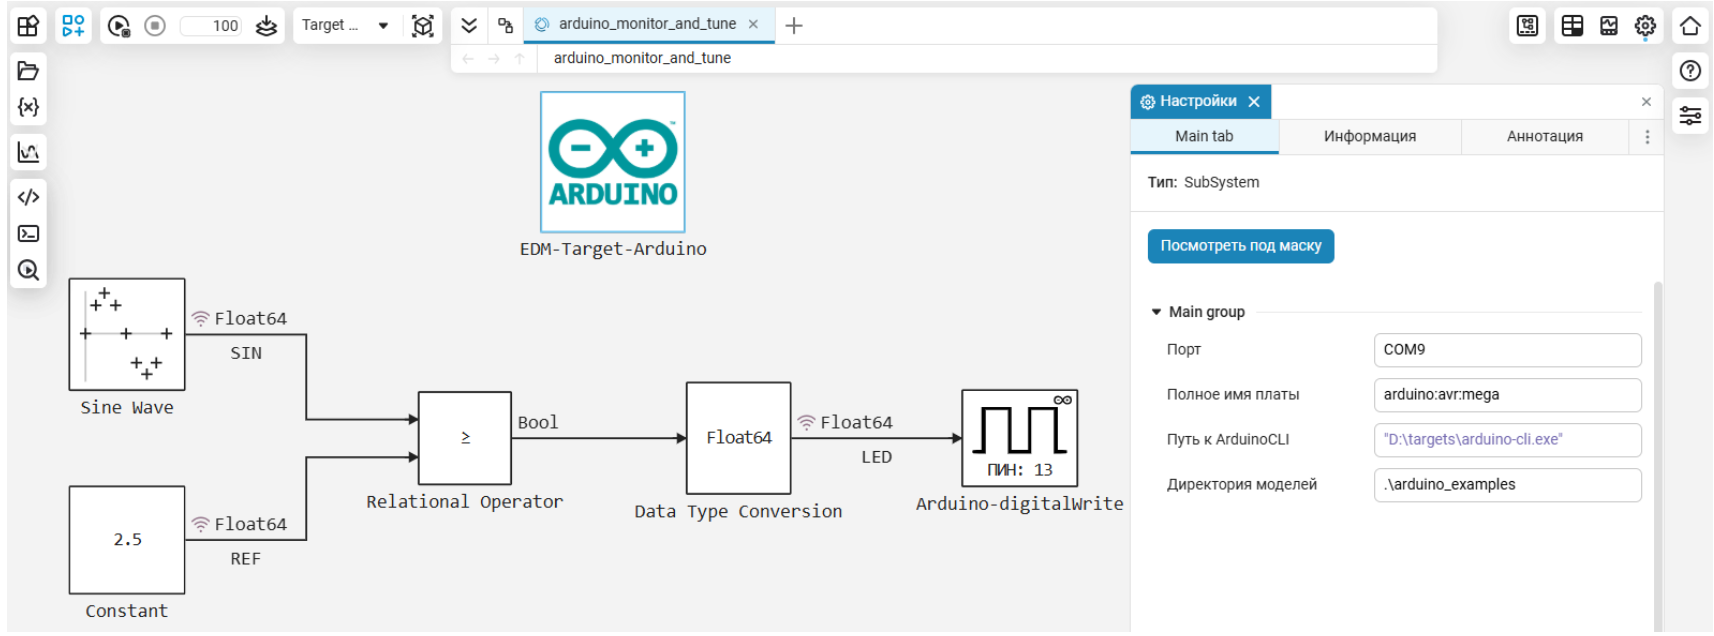
-
Select and run one of the model execution modes:
-
Run the model on hardware
 — interactive execution on the target platform with management and supervision from Engee.
 -
Run in independent mode
 — offline execution on the target platform without control from Engee.
-
Execution modes
For more information about the operating modes of Target Hardware, see the article Running models on target hardware.
|
When running the model interactively with configurable parameters, it is necessary in the model settings panel on the tab "Code generation" set for the parameter Default parameter behaviour meaning |
|
When running the model in interactive mode, there must be recorded at least one model signal. |