Administration and licensing
There are two types of licenses in Engee:
-
Sublicense is a license containing the type, duration, status, size, and date of the product. The addition of sublicenses increases the functionality and/or extends the validity period of the master license.
-
A master license is a group of sublicenses under the control of an administrator within a specific organization.
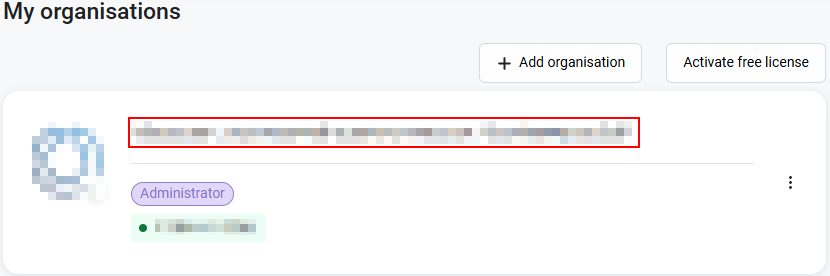
Administration and licensing are conducted in personal account Engee in the My organizations section ![]() . To enter this section, click on the icon
. To enter this section, click on the icon ![]() and click on the name of your organization:
and click on the name of your organization:
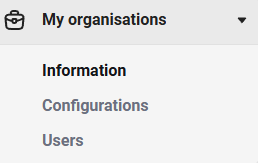
New features will now be available in the My Organizations section.:
-
Intelligence — editing information about an organization.
-
Configurations — master license management and user configuration under the master license.
-
Users (the entire organization) — administration of users within the organization.
Intelligence
There are four tabs available in the Information Administrator section:
-
Basic — editing basic information about an organization;
-
Banking details — updating the company’s banking details;
-
Divisions — setting up the organization’s divisions;
-
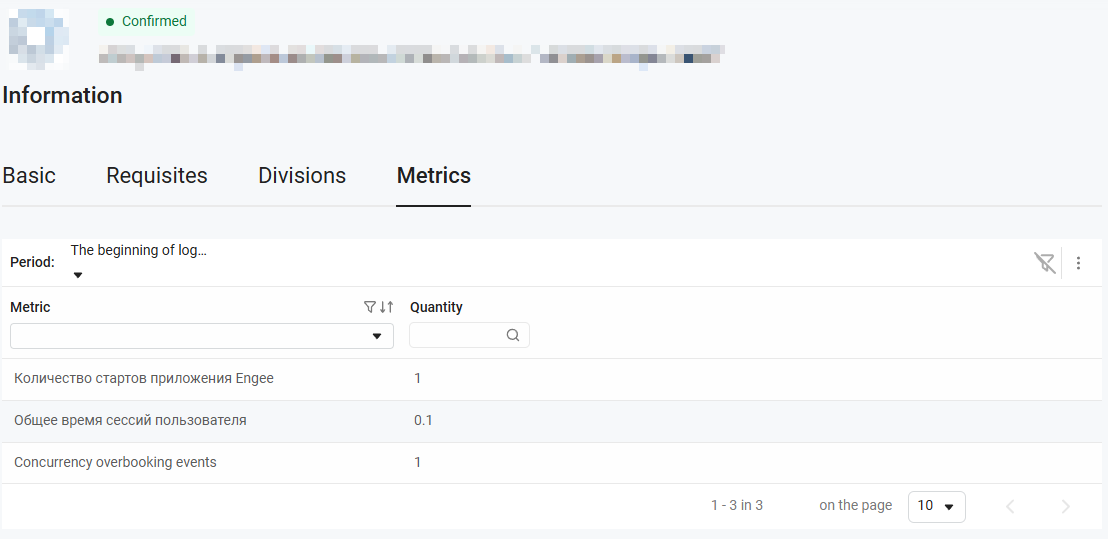
Metrics — tracking metrics within an organization.

In the Metrics tab, you can filter and sort metrics by both metric type and user.:
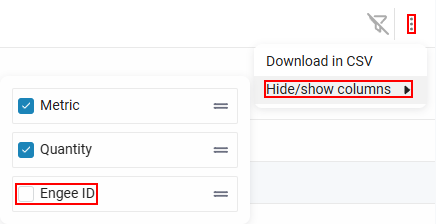
By default, the list of users can be hidden. To display users, click on the ellipsis ![]() in the right corner to open the pop-up menu, select Hide/show columns and check the box next to Engee ID:
in the right corner to open the pop-up menu, select Hide/show columns and check the box next to Engee ID:
If the Engee ID column is not added:
-
The total number of Engee application launches for the entire organization (including all users) is displayed.
-
The total time of all sessions of users of this organization is displayed.
If the column is added:
-
The number of Engee application launches for each user of the organization is displayed.
-
The total session time for each user is displayed.
|
Implemented for convenience:
|
Configurations
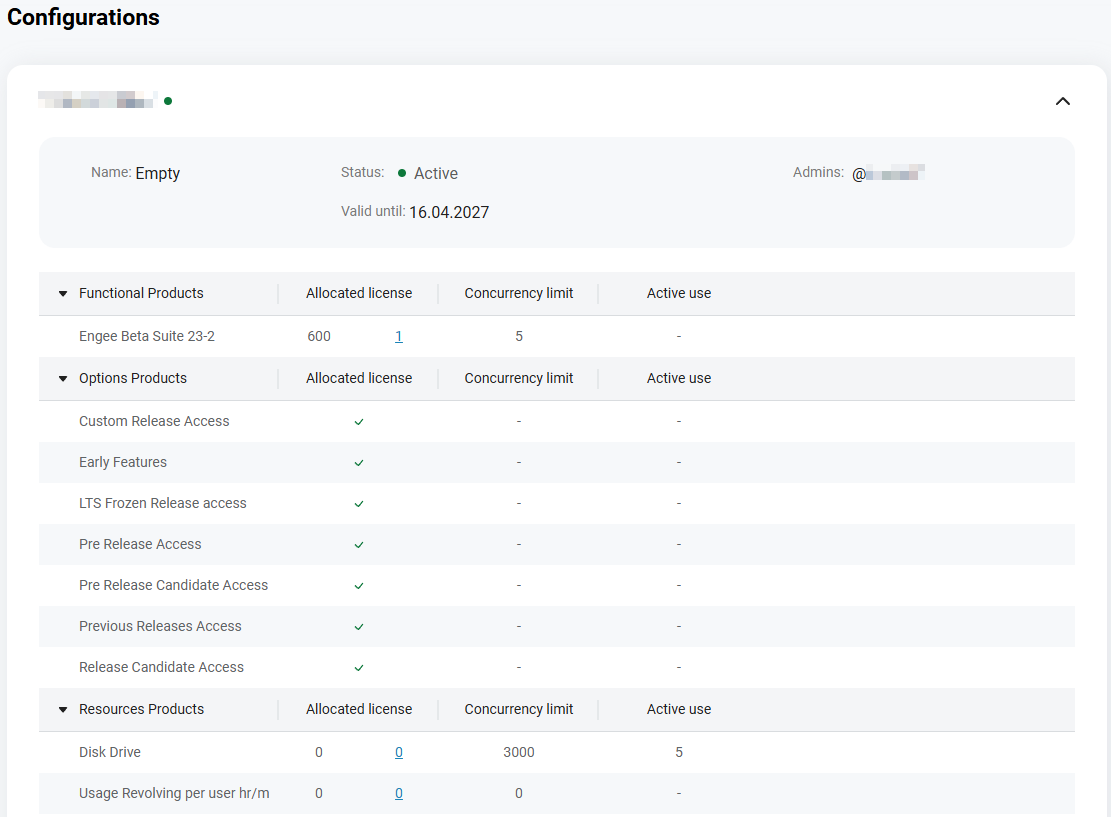
The Configurations section shows the available master licenses.

Click the button  to fully disclose the information about the master license:
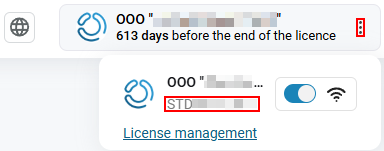
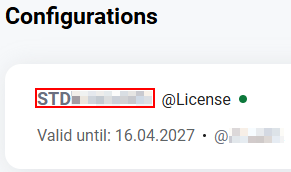
You can set an auxiliary name for the master license. To do this, hover over the name and click on the icon  :
:
The name of the master license will be displayed in the upper-right corner of the personal account next to the name of the organization.:
|
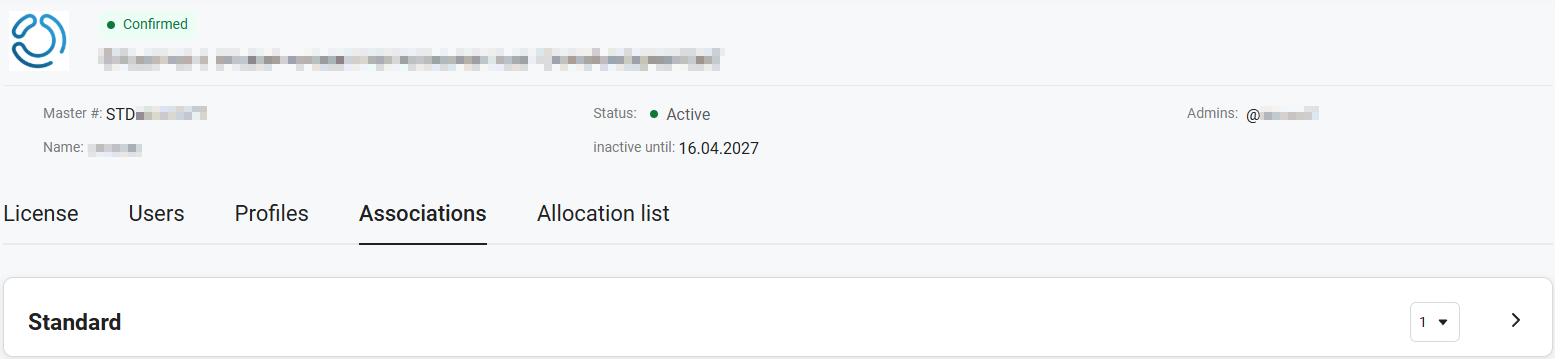
To go to the master license, go to the Configurations section and click on the license name. The section consists of the tabs Licenses, Users, Profiles, Associations, List of allocations:
|

Licenses
The Licenses tab displays all available resources (sublicenses) of the master license. Each sublicense is a specific product provided by Engee:
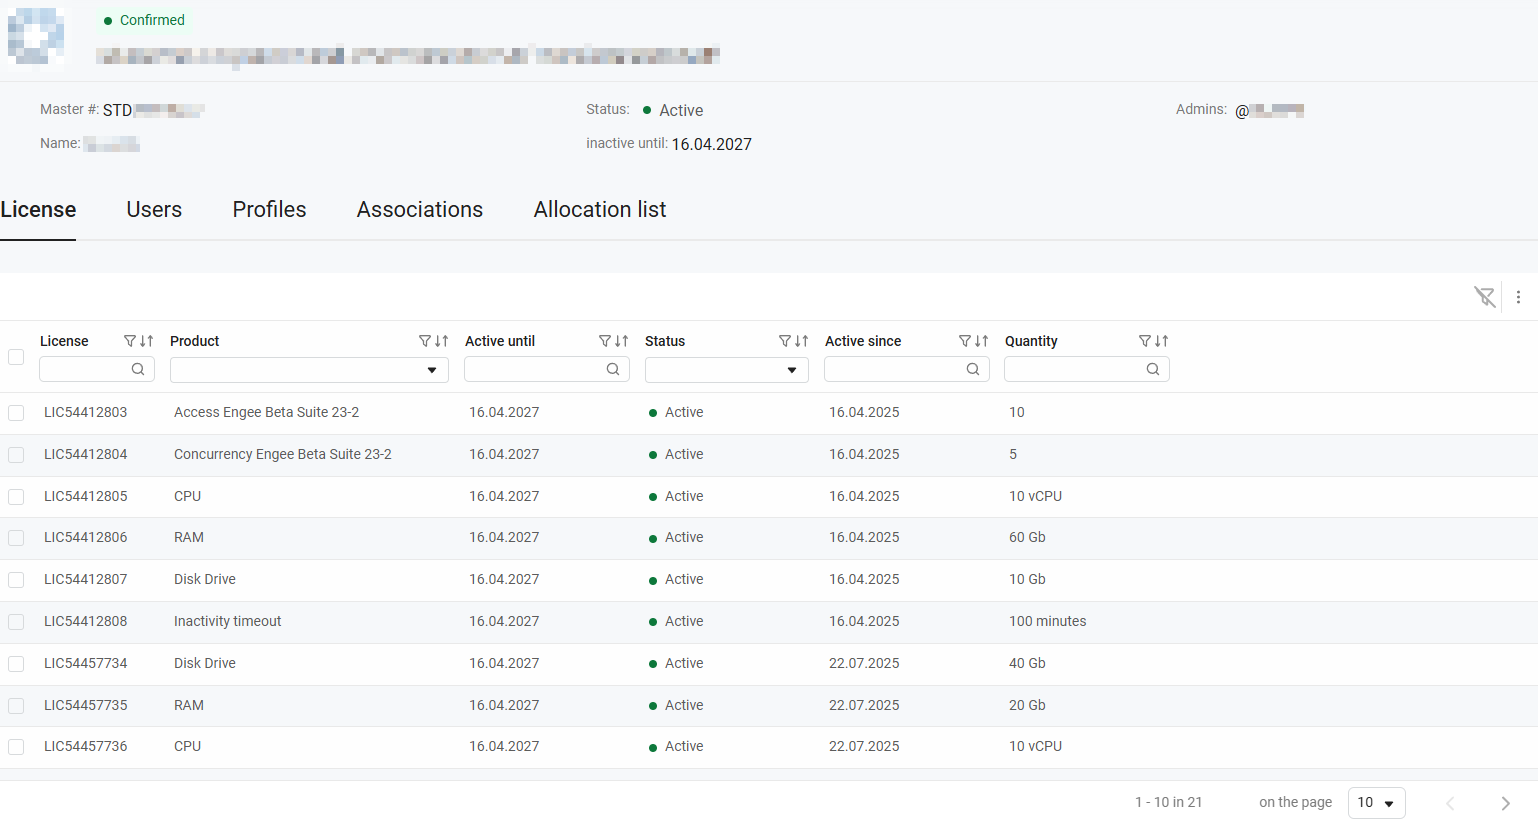
The main resources presented in the form of products:
-
CPU — the number of virtual processor cores allocated to work in the Engee application.
-
RAM is the amount of RAM available for the operation of the computing module in the Engee application.
-
Disk Drive — the amount of disk space allocated for data storage.
-
Inactivity timeout is the user’s inactivity time, after which the session ends automatically. Inactivity begins from the moment when the mouse movement and keystrokes stop.
-
Usage Revolving per user hr/m is the resource usage limit set in hours or minutes, updated for each user during a specified period.
For more information about resources when starting a session, see Starting the Engee session.
Users (in the master license)
On the Users tab, the administrator can add already registered users, send invitations to new ones, disable them, and edit limits under the selected master license.
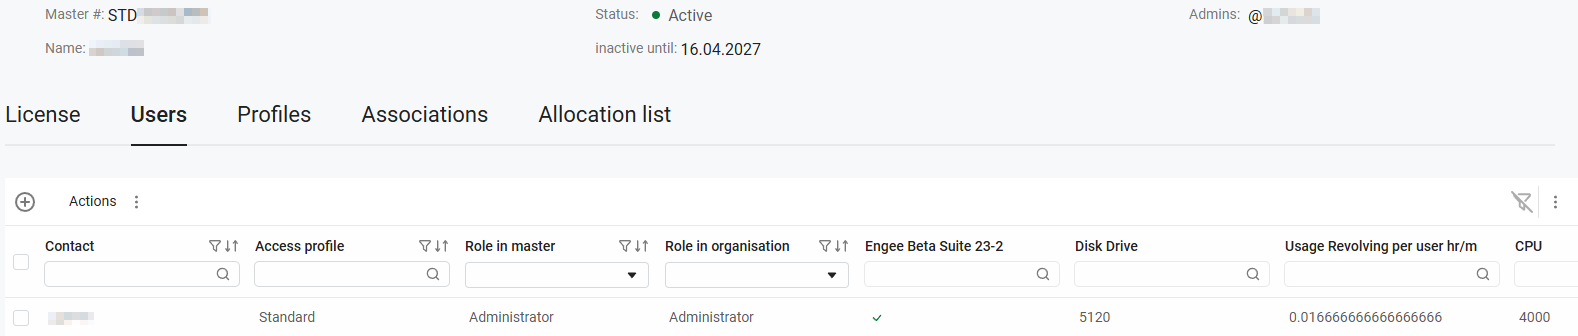
| Editing limits on the Users tab allows you to configure session startup settings for specific users. To configure user group settings, go to the tab Profiles. |
| To invite multiple users at the same time, use the tab Associations. |
-
To add it to the master license, click
 and choose one of the suggested options:
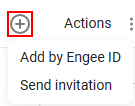
-
Add by Engee ID — adds a user already registered in Engee;
-
Send an invitation — adds a user who has not previously been registered with Engee by E-mail (required) and phone number.
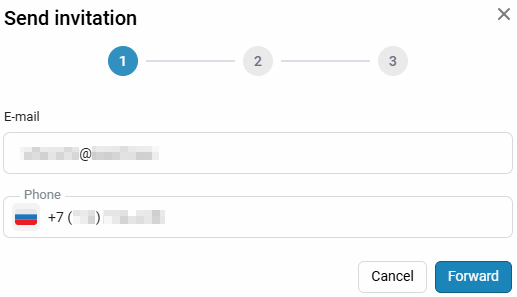
The process of inviting an unregistered user
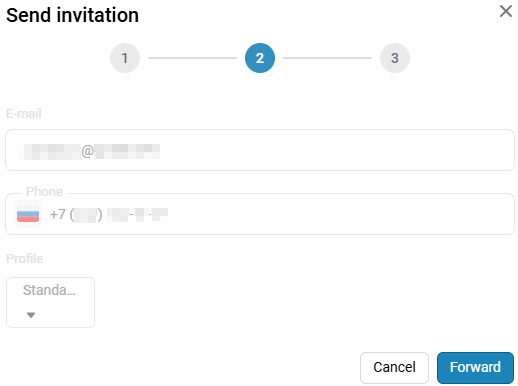
The invitation consists of three stages:
-
Enter the user’s E-mail (required) and mobile phone number. After that, click Next:
-
Select the user’s master license profile. Profiles are configured in the tab Profiles. After that, click Next:
-
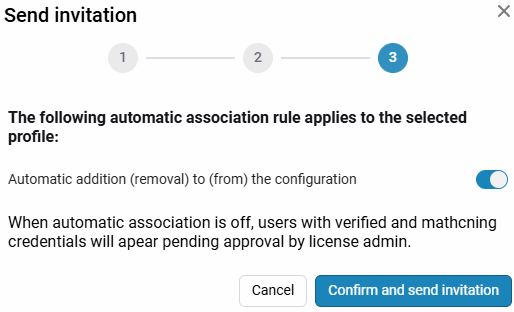
For each profile, there are associations that can be configured in the tab Associations and those responsible for automatically adding users:
-
Enable automatic addition so that the user is automatically added to the master license.;
-
Turn off automatic addition so that the user is in the "Pending connection" status and waits for the administrator’s approval to add to the master license.
If the E-mail is entered correctly, the user will receive an email notification with a link to go to Engee.
-
-
-
-
To remove it from the master license, check the box to the left of the user’s name and click
 and select Disable:
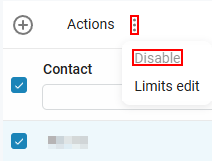
-
To edit the session launch limits for a specific user, tick it and click the ellipsis button.
 and select Edit limits.
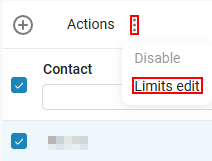
In the window that opens, select the parameters that you want to change.:
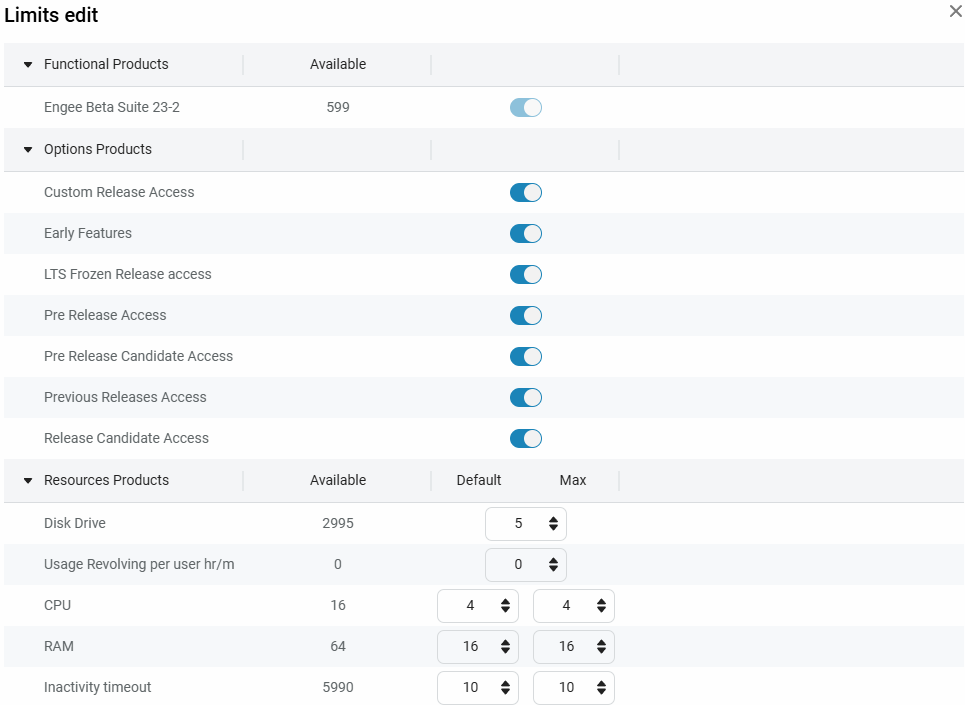
When saving the change, select:
-
Apply — the changes will affect only the selected user and will not affect other users or profile settings in the tab. Profiles.
-
Apply to Profile — the changes will be saved in the settings of the associated profile in the Profiles tab and applied to all users associated with this profile.
-
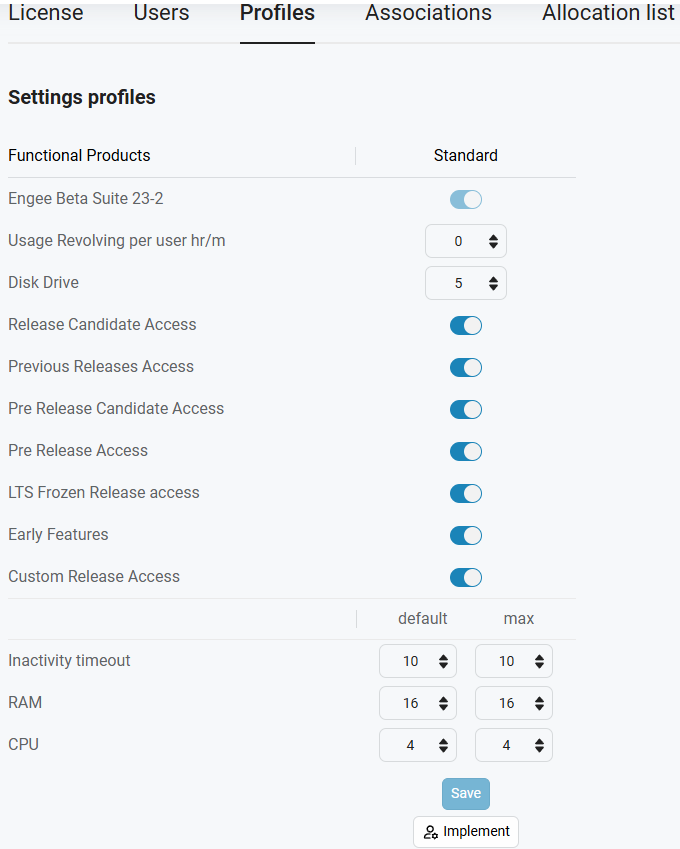
Profiles
| Profiles can be added/deleted, renamed. |
|
The Profiles tab is used to configure the settings for launching user groups. To change the settings for a specific user, go to the tab Users, select the desired user, click on the ellipsis icon |
In the Profiles tab, the administrator controls the settings for launching user group sessions and sets resource thresholds.:
After saving the thresholds, the user will be limited by the startup parameters depending on the profile provided. The user sees the resources available to him in the Control Panel section  by pressing the gear button:
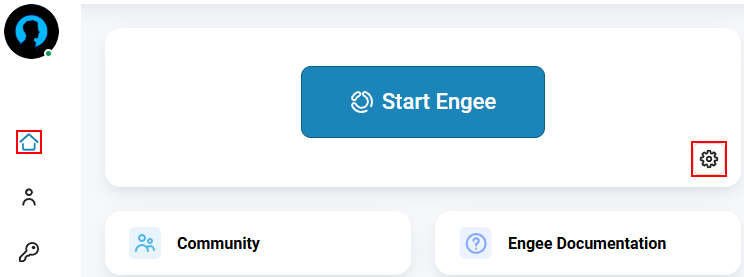
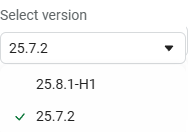
The user can adjust startup resources between thresholds (if such resources are available) and select the Engee version:
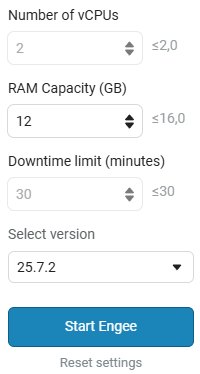 →
→ 
|
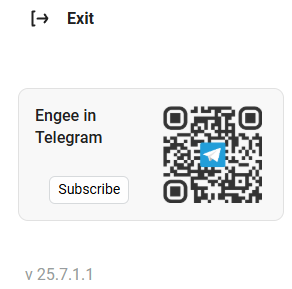
The version of the personal account is indicated in the lower left corner of the open sidebar, not Engee.
|
Associations
In the Associations tab, the administrator adds/disables users in a specific master license and distributes them by to profiles:
To expand the associations, select the desired profile and left-click on it.:
Associations can be automated by adding them automatically.:

-
Enabled — The user will be immediately added to the selected master license profile without administrator approval and will be able to use Engee according to the profile settings.;
-
Disabled — Users will not be added automatically. They will remain in the "Awaiting Connection" status on the Users tab and will not gain access to the master license without administrator approval.
For example, when automatic addition is enabled, users added to the priority profile will immediately have access to Engee with the resources of this profile.
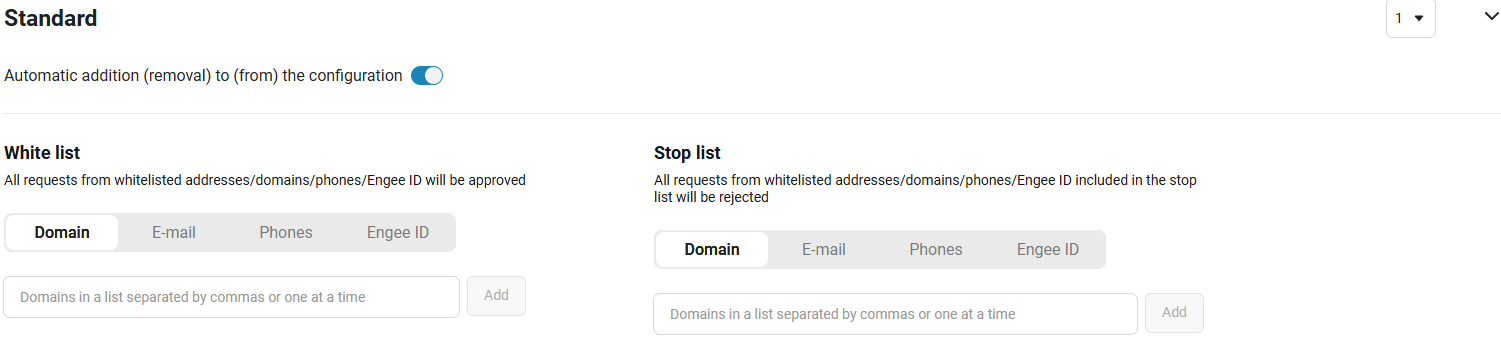
The administrator can set rules for automatically adding/removing users by profile using lists. Each profile has its own whitelists and stop lists.:
-
Whitelist — automatically adds users to the master license (taking into account the settings for automatic addition).
-
Stop list — rejects users.
Profiles have their own configurable priorities:

For example, if a user is whitelisted by both profiles, he gets into the profile with the highest priority.
The automatic user allocation ruleThere are 8 lists in the configuration profiles, 4 each in white and stop lists, namely by domain, by E-mail, by phone, and by Engee ID. Each list (white and stop list) has its own rules.:
|
List of allocations
The List of Allocations tab displays information about allocated resources (sublicenses) for users under specific master licenses. In the context of Engee, allocation means the assignment of resources that a license provides to a specific user or product.
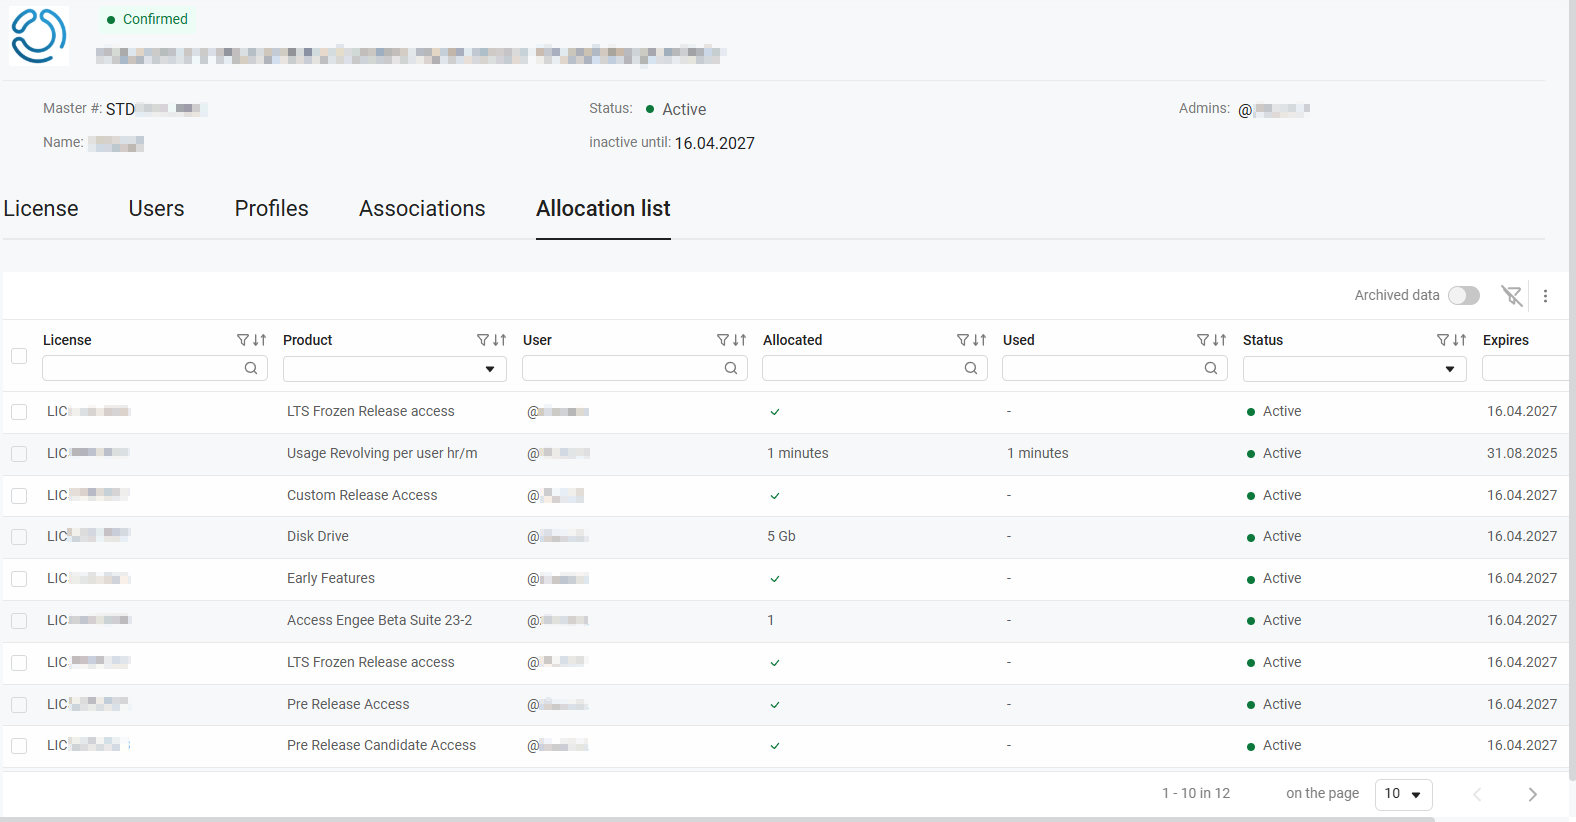
The table contains several columns (by default):
-
License is the identifier of the license to which the allocation belongs.
-
Product is the name of the service for which the resource is allocated.
-
User — the user to whom the allocation is assigned.
-
Allocated — the amount of allocated resource (for example, CPU, RAM, Disk Drive).
-
Used — the current amount of the resource used.
-
Status — the current allocation status (
 Actively, etc.).
 -
Expires — the expiration date of the selected product.
|
To adjust the display of columns, click on the ellipsis |
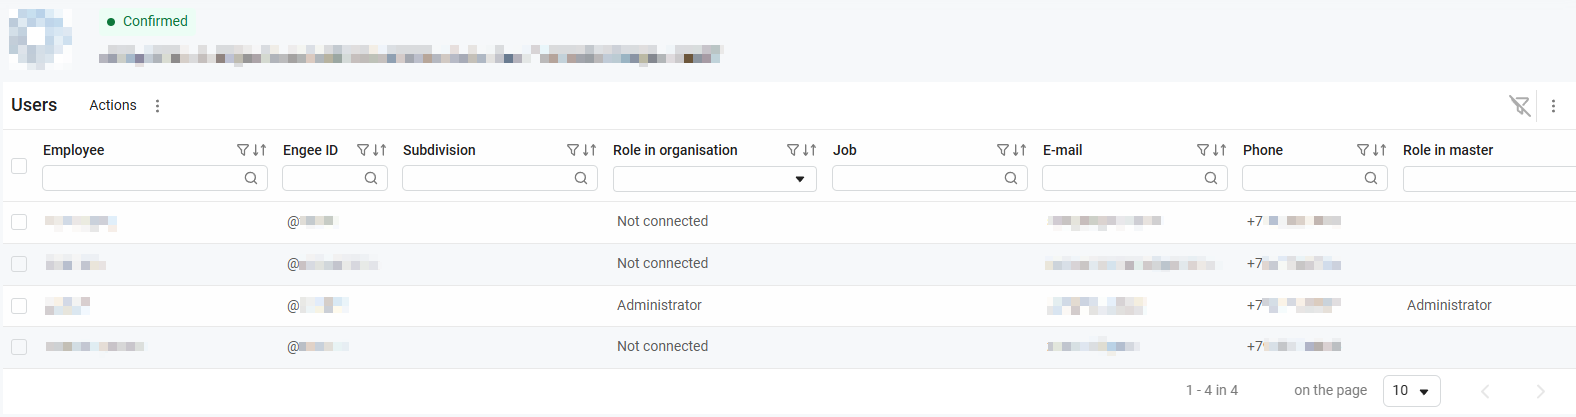
Users (the entire organization)
To view all users in an organization, click on the My Organizations icon. ![]() and select Users:
and select Users:

|
Do not confuse the Users tab in the Configurations section and the independent Users section.:
|
In the Users section, the administrator can see a list of all the users of the organization, their roles and contact information.:
By default, the list of users can be hidden. To display users, click on the ellipsis ![]() in the right corner to open the pop-up menu, select Hide/show columns and check the box next to Engee ID:
in the right corner to open the pop-up menu, select Hide/show columns and check the box next to Engee ID:
To add additional columns to the list of users, click on the ellipsis on the right and select Hide/Show columns. To reset the filters in the list, click  .
.
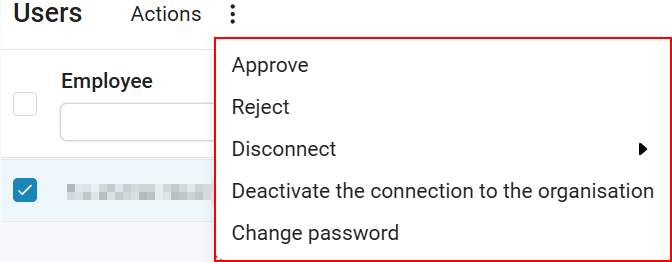
In this section, the administrator can:
-
Approve user requests to join the organization’s master license.
-
Reject the entry of users into the organization’s master license.
-
Disconnect users from the master license. Disconnected users will be displayed in the "Not connected" status and will not occupy the resources of the master license (dedicated sublicenses). Disconnecting from the master license does not disconnect from the organization.
-
Deactivate the user’s connection with the organization. Deactivating the connection completely removes the user from the organization.
-
Change the user’s password. This option is useful in case of loss of the user’s email/password.
The process of changing the user’s password
-
Check the box to the left of the user who is going to change the password and select Change password in the actions
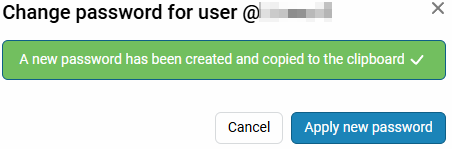
. In the window that appears, click Generate a new password: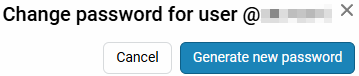
-
A new password is created automatically and copied to the clipboard.
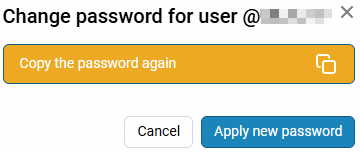
-
The password can be copied an unlimited number of times. Next, click Apply new password:
| All actions except changing the password can be performed for multiple users at the same time. To do this, tick the appropriate users. |