Working with an offline client Engee
Offline client Engee (Engee Offline Desktop) is a client service designed to work with the platform. Engee from a local computer without an internet connection. Functional Engee in offline mode, it fully corresponds to its cloud version.
The offline client has access to all versions Engee personal account, so you can work with the preferred version in the offline client. The list of available versions is determined by the configuration of the selected master license.
Working in an offline client from one license does not block work in another (if available).
|
Files from file browser
Manual downloading of files is not required to work in the offline client. |

Preparing to launch an offline client
|
Minimum system requirements for launching an offline client:
|
Before you start working with an offline client, make sure that the administrator of your master license has granted the appropriate rights to run the offline version.:
-
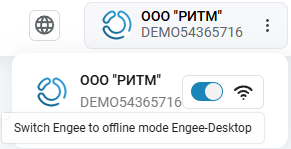
If the license is granted, the translation toggle switch becomes active. Engee to offline mode in the upper-right corner of your personal account:
-
If the license has not been issued and the toggle switch is inactive, contact the administrator of your master license.
instruction for issuing an offline client in a master license (for administrators)
When the product Engee Offline Desktop is added to the master license, it is manually assigned and configured by the master license administrator:
-
For one user:
-
Open the tab Users.
-
Check the appropriate user box.
-
Click on the ellipsis button
 and select Edit Limits.
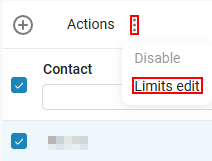
-
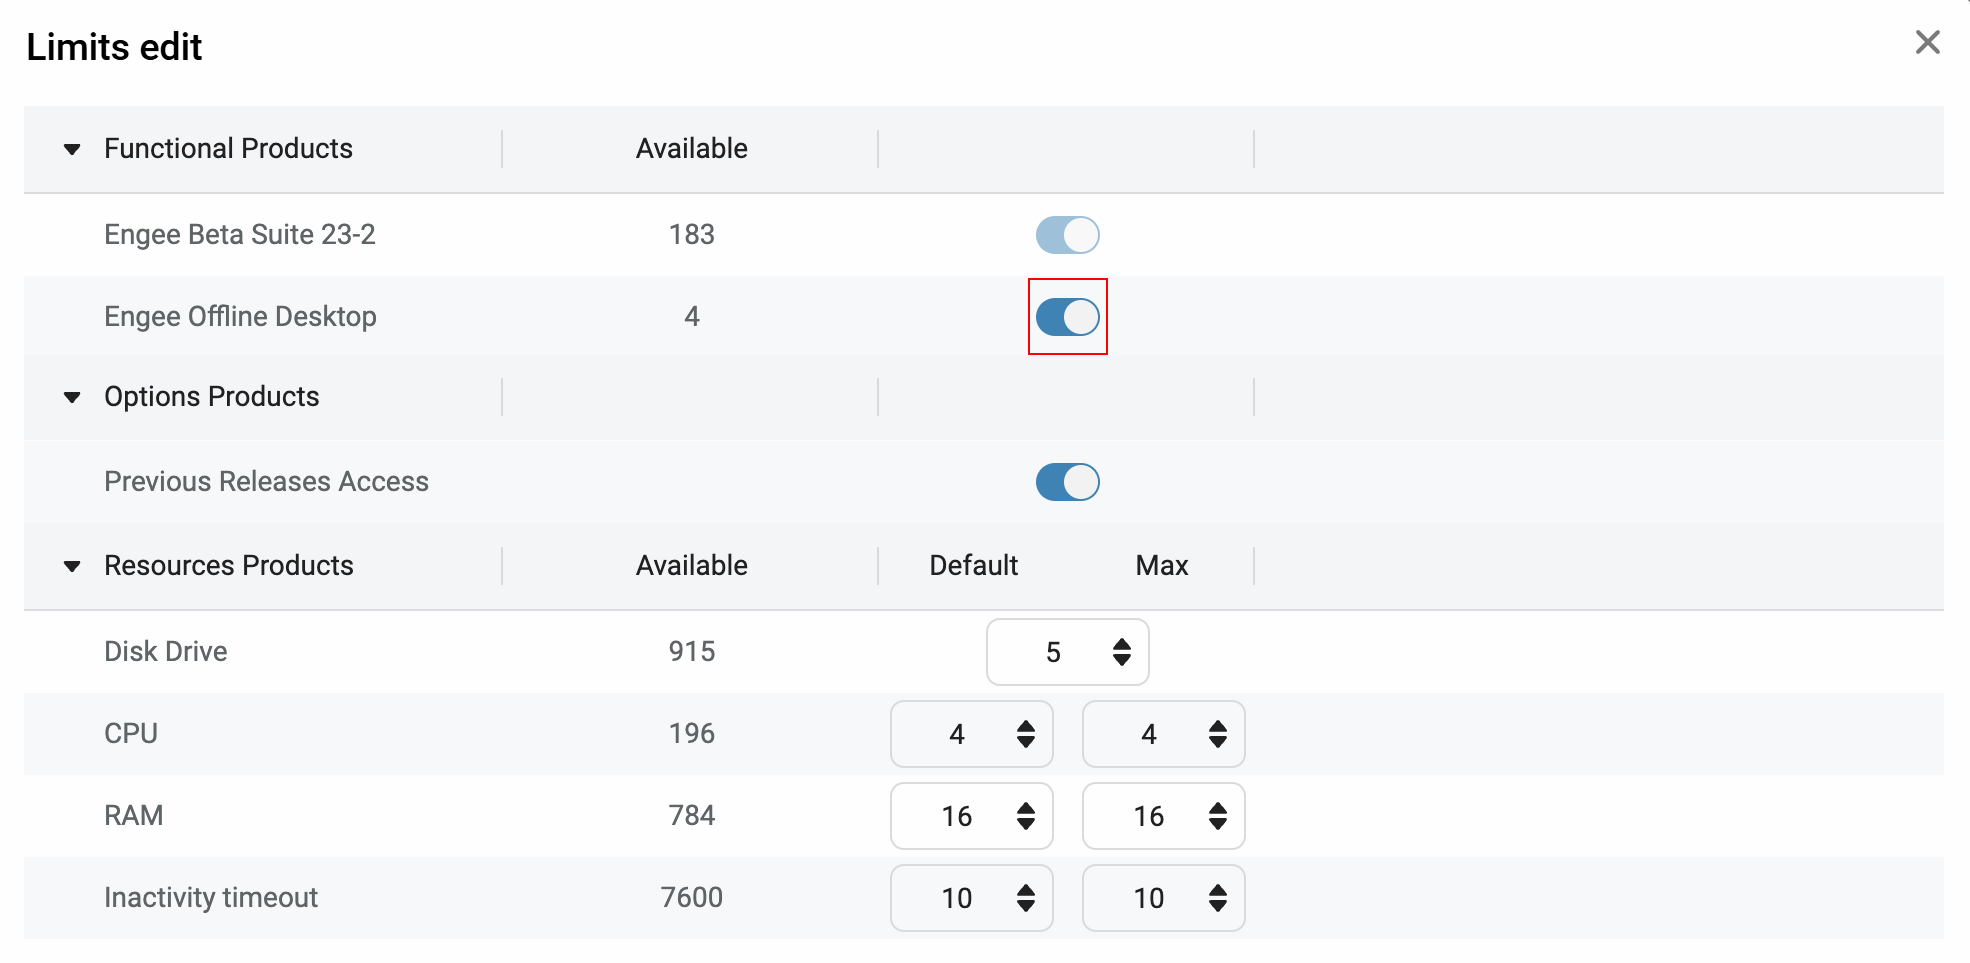
Turn on the radio button next to the product Engee Offline Desktop.
-
-
For a group of users:
-
Open the tab Profiles.
-
Turn on the switch next to Engee Offline Desktop for the selected profile (group).
-
To add or remove users, use the tab Associations.
-
The maximum working time for an offline client is 30 days.
-
|
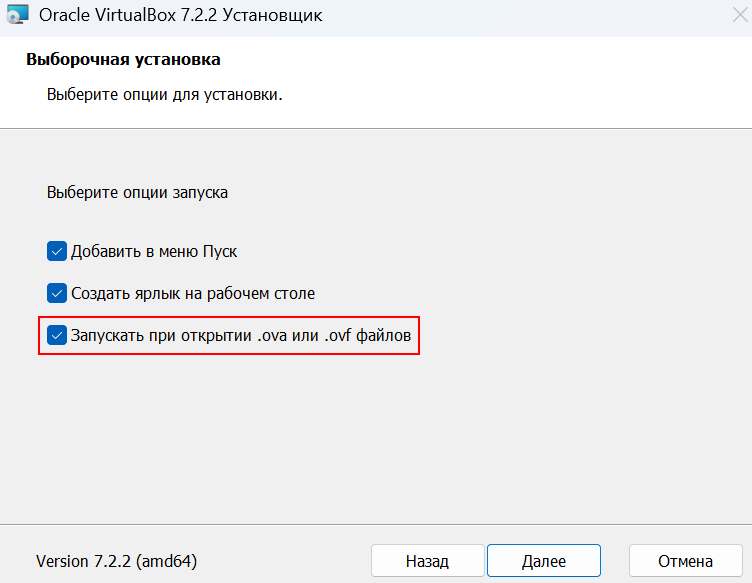
The offline client is available on Linux and on Windows with WSL (Windows Subsystem for Linux) support. For an offline client to work, you need to install a virtualization application, such as VirtualBox (recommended). For further correct operation with the virtualization application:
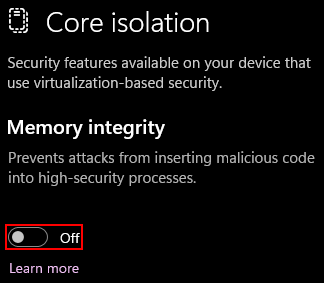
If you experience poor performance or startup errors when starting the VM, you must disable the kernel isolation feature in the Windows security settings.:
Disabling kernel isolation allows VirtualBox to work correctly with hardware virtualization. |
|
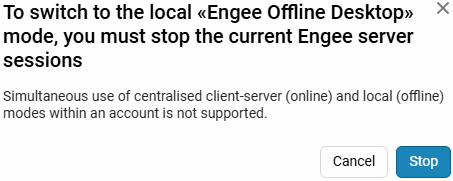
You cannot work in both cloud and offline clients within the same account. Stop the online session before you start working in the offline client. Engee:
|
Launching an offline client
Switch the translation toggle switch Engee switch to offline mode in the upper right corner home page of your personal account:
After switching the toggle switch, a window for downloading and authorizing the offline client will be added.:
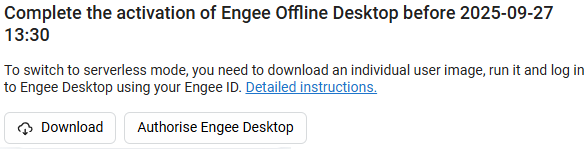
Downloading and installing an offline client
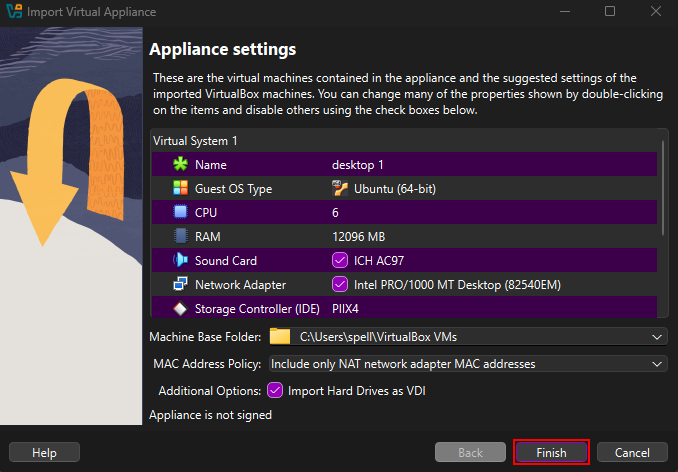
Click the Download button to download the format file.an ova containing the necessary data to start the VM.
Run the downloaded file and the process of importing configurations for the VM will begin. Click Done:
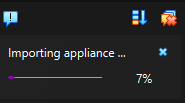
Importing the configuration takes different time depending on the power of the computer. You can track the import process in the virtualization application.:
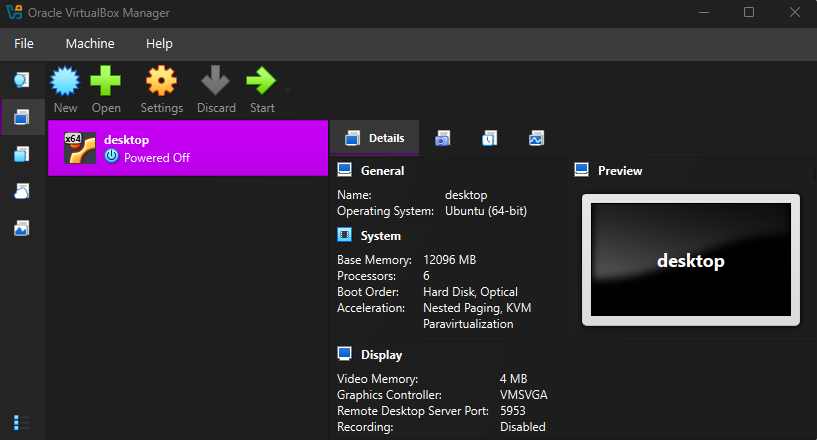
Upon completion of the import, the file will automatically create a ready-to-run virtual machine (named desktop by default).:
|
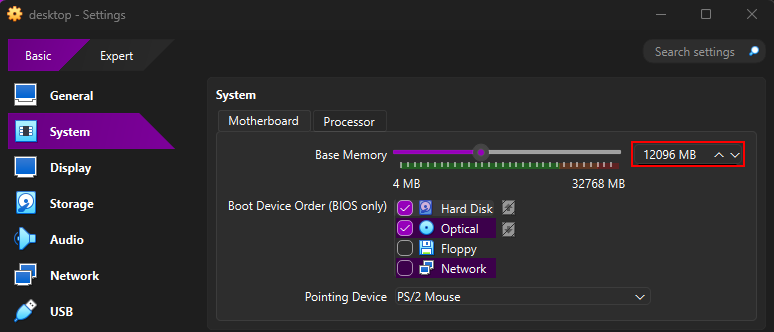
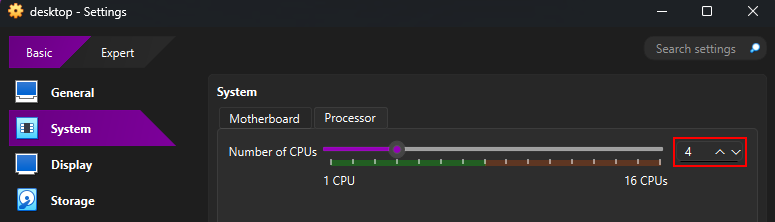
After importing, you need to open the settings of the imported virtual machine in the "System" section:
Make sure that at least 130 GB of free space on the SSD is available for the VM. |
Start the virtual machine by clicking the Start button in the virtualization application. After installation Engee the address for further launching of the offline client will be displayed in the virtual machine console.:
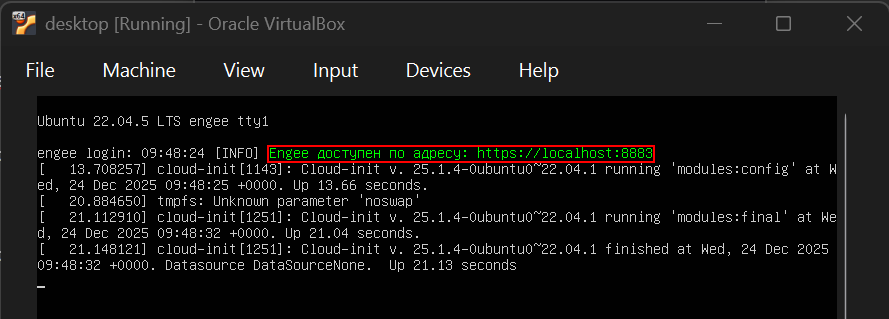
| The Authorize button Engee Desktop opens this link automatically in the virtualization application — you don’t need to copy it manually. The appearance of a link in the console means that the virtualization application has worked correctly. |
Offline client authorization
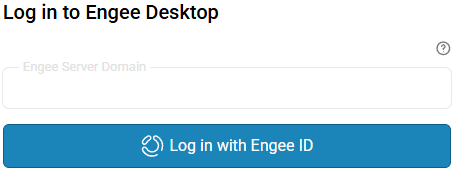
After installing the offline client, it must be authorized. To do this, go back to the main page of your personal account. Engee and click the Authorize button Engee Desktop. Alternatively, you can enter the link you received in the VM in the browser’s address bar.
A window opens to log in to the Engee Desktop. In the window, enter the name of the domain you downloaded it from.ova file of the offline client. Recording is allowed with or without the http/https protocol. For example, the domain for https://engee.com/account/ you can specify as https://engee.com/account or engee.com/account. After entering the server domain, click Log in using Engee ID:
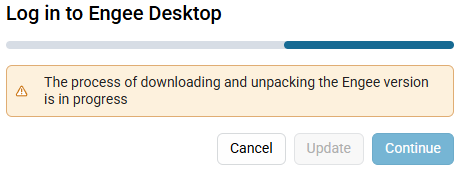
Then select the version Engee, the offline client of which you want to launch, and wait for its installation:
 →
→ 
|
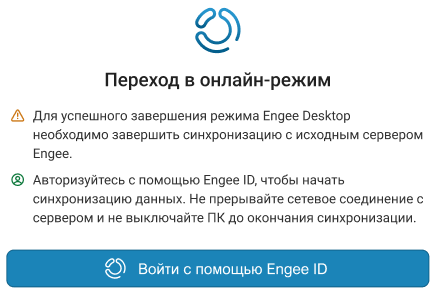
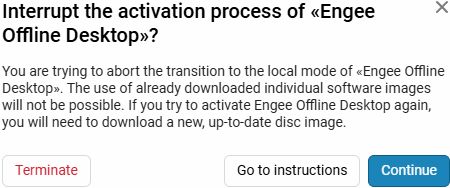
If the activation of the offline client has not been completed, but the toggle switch is switched back, the system will issue a warning.:
|
After successful activation of the offline client Engee a simplified version of the personal account will be opened, from which, by analogy with the online client, you can start session and get started:

To resume working with the cloud version Engee click on the button in the upper left corner:

|
When switching between online and offline modes, the content file browser syncs automatically. All projects and files remain accessible without the need for manual copying. Wait for the synchronization to finish before using the modified local files.
|