Line detection using Hough transform
In this example, we will look at the possibilities of detecting lines in an image using the Haar transform.
First, we will connect all the libraries that we will need in the process of this work.
Pkg.add(["ImageCore", "ColorVectorSpace", "ImageDraw", "Clustering", "ImageMorphology", "ImageFeatures"])
using ImageFeatures, FileIO, ImageDraw, ColorVectorSpace
using ImageCore, Clustering, ImageMorphology
gr()
Now let's upload images with a white line in the center.
In this example, we'll look at two loading methods.:
- through the URL link,
- From the Engee file manager.
# Download images from the internet
file = download("https://grizly.club/uploads/posts/2023-08/1691448777_grizly-club-p-kartinki-belaya-poloska-bez-fona-31.jpg")
img = FileIO.load(file)
# Upload images from Engee files
# img = load( "$(@__DIR__)/line.jpg" )
After the image has been loaded into variables, we will convert it to a binary format.
img_g = Gray.(img)
thresh = otsu_threshold(img_g)
tf = img_g .> thresh;
Now let's thin out the binary matrix to find the pronounced lines.
t = thinning(tf)
heatmap(t)
Next, using the Haar transform, we calculate the cordinates in which the desired line is located.
rθ = hough_transform_standard(t, stepsize = 3, vote_threshold = 500, max_linecount = 100, angles = range(0, pi, length = 10000))
R = kmeans(Matrix(hcat(vcat.(rθ...)...)'),3)
m = Tuple.(eachcol(R.centers))
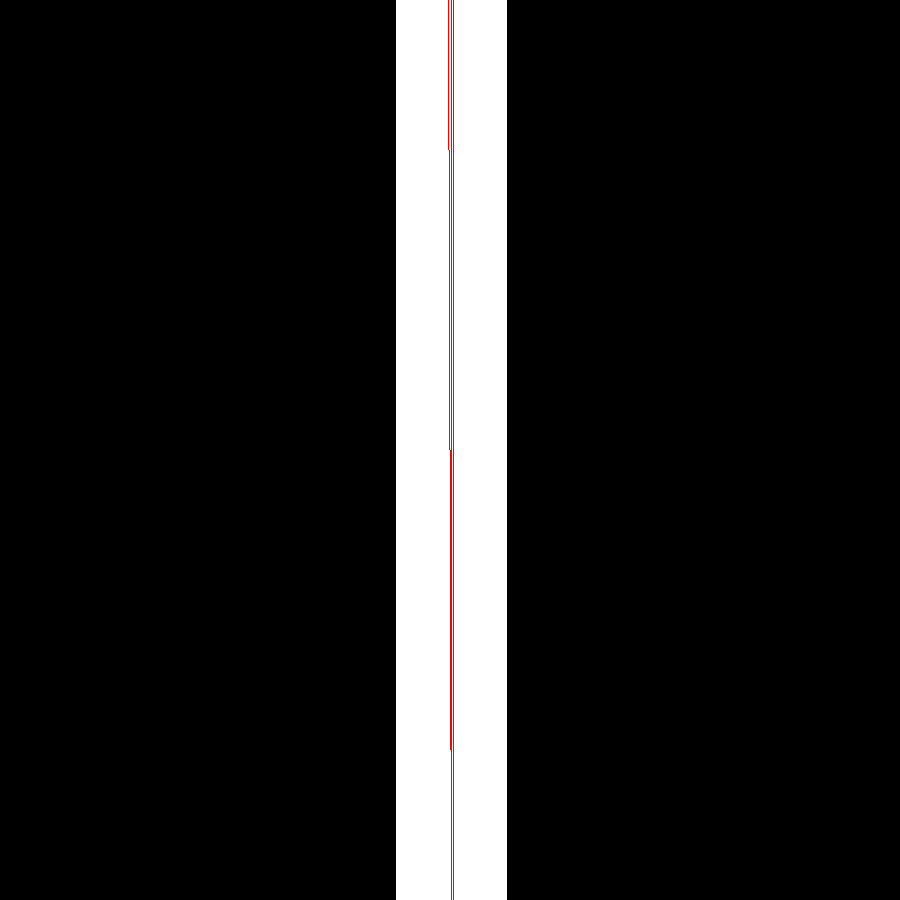
Now we will overlay the found line on the original image and mark it in red.
img = RGB.(tf);
for (r, θ) in m
    draw!(img, LineNormal(r, θ), RGB{N0f8}(1, 0, 0))
end
img
As we can see in the figure above, our original image and the found line match in location and direction.
Conclusion
In this example, we have figured out how to apply Haar transformations to detect objects in images. This function works correctly, and it can be used in your projects.

