Morphological operations, part 2
In this demo, we will look at morphological operations such as filling, puncturing, and clearing borders.
Let's start by connecting the necessary libraries.
Pkg.add(["ImageBinarization", "Noise", "ImageDraw", "TestImages", "ImageMorphology"])
Pkg.add("ImageBinarization")
using Images, Noise, ImageMorphology
using ImageBinarization
using ImageDraw
using TestImages
Let's upload the image and perform its threshold processing.
img_src = testimage("morphology_test_512")
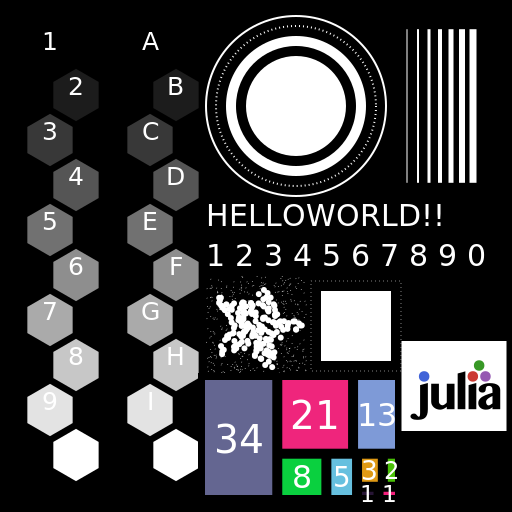
img_input = binarize(Gray.(img_src), UnimodalRosin()) .> 0.5
We will use this image in future work by assigning it a grayscale format, since the operations listed below apply to images in Gray format.
Gray.(img_input)

Highlighting borders
The convexhull function outputs the outer border of the image that looks most like a coating and returns the vertices of the border object as a CartesianIndex array.
cordinates = convexhull(img_input)
img_convex = RGB.(copy(img_input))
push!(cordinates, cordinates[1])
draw!(img_convex, Path(cordinates), RGB(1))
img_convex

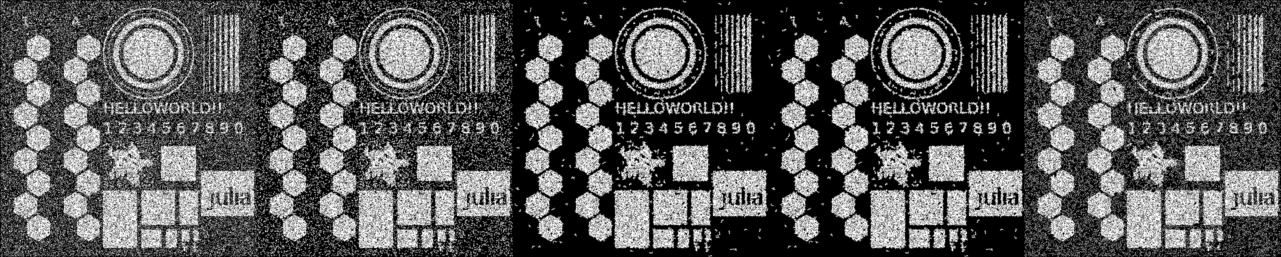
Filling in the image
The image filling operation finds related image components and uses them to produce the resulting image. After completing the fill function, this image falls within the range of the specified interval.
img_noise = salt_pepper(img_input, 0.5)
fill_image_1 = imfill(img_noise, (0.1, 1))
fill_image_2 = imfill(img_noise, (0.1, 10)) # this configuration gets us best results
fill_image_3 = imfill(img_noise, (1, 10))
fill_image_4 = imfill(img_noise, (5, 20)) # objects of smaller sizes gets left out
Gray.([img_noise fill_image_1 fill_image_2 fill_image_3 fill_image_4])
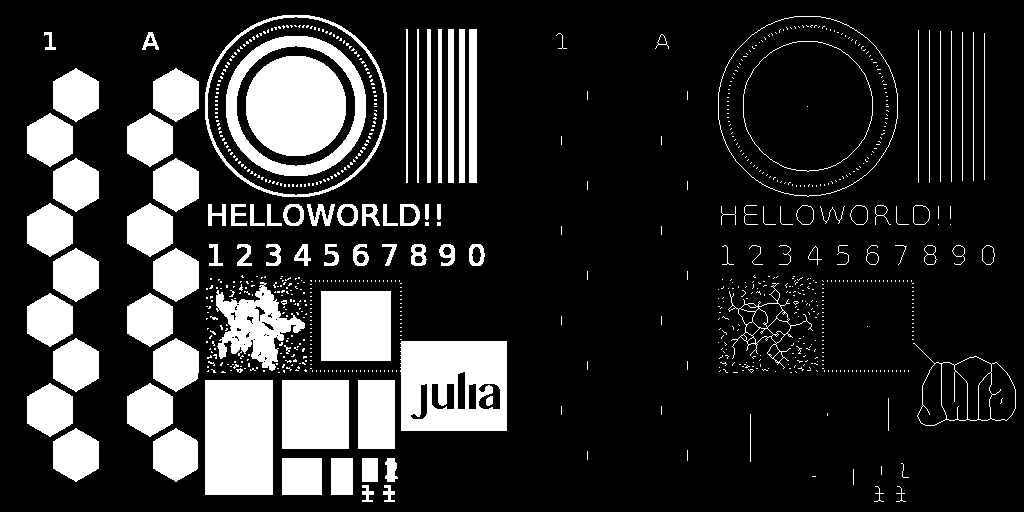
Thinning the image
The thinning operation applies the Go algorithm, which determines which pixels to leave.
img_thinning = thinning(img_input, algo = GuoAlgo());
Gray.([img_input img_thinning])
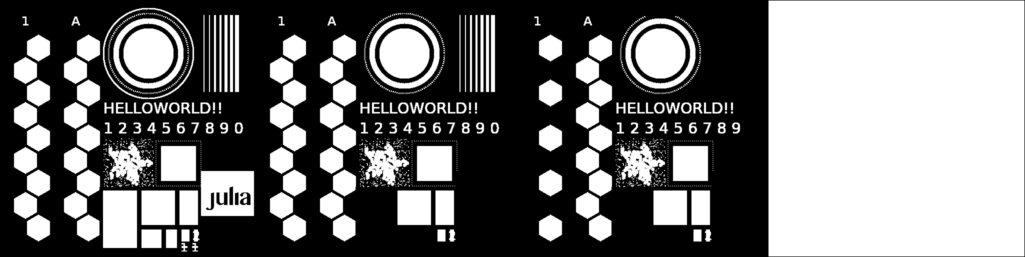
Clearing borders
The Clearborder method can be used to clear objects associated with the image border.
cleared_img_1 = clearborder(img_input, 20); # 20 is the width of border that's examined
cleared_img_2 = clearborder(img_input, 30); # notice how it remove the inner circle even if it's outside its range
cleared_img_3 = clearborder(img_input, 30, 1);
The default color for deletion is 0, which means RGB(0) is deleted, but now since it is 1, it clears the entire image due to the fill algorithm.
Gray.([img_input cleared_img_1 cleared_img_2 cleared_img_3])
Conclusion
In this example, we have analyzed some useful morphological operations that can be applied to images.