From daylight to sunset: Realistic image transformation using histogram matching
This example illustrates a histogram matching technique that is used to transform the pixel brightness distribution of one image so that it matches the distribution of the reference image. If the images are multi-channel, the process is performed separately for each channel, provided that the number of channels matches.
Histogram matching is widely used in computer vision and image processing tasks. For example, it is indispensable when processing data obtained in different lighting conditions or from different devices such as cameras or sensors. This method allows you to unify the appearance of images, which is especially important in tasks such as object recognition, image registration, and feature matching.
Examples of practical application of histogram matching
- Preprocessing of medical images, where it is important to maintain uniformity of data obtained from different devices.
- Processing of aerial photographs and satellite images taken at different times of the day or from different angles.
- Preparation of data for machine learning, where consistent image statistics contribute to improving the quality of models.
There are a lot of applications for this technique, now let's look at an example.
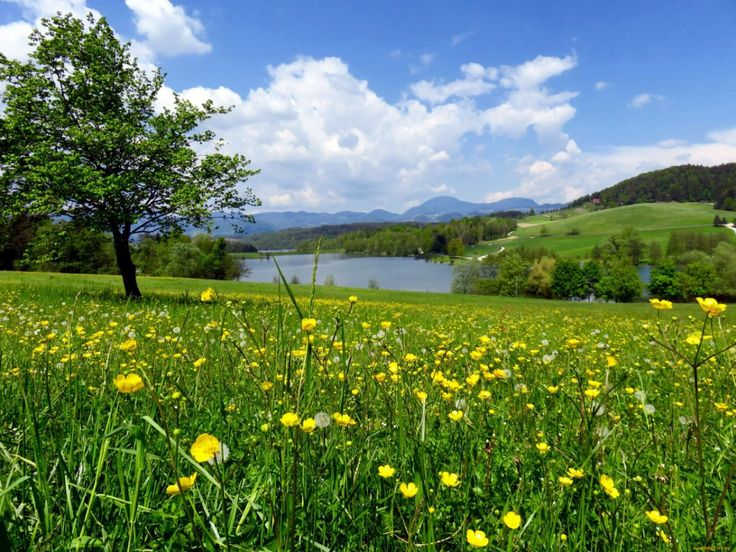
There is a task - to transform an image with a daytime landscape into a realistic sunset landscape, changing its color palette and brightness so that the sky acquires warm shades (pink and orange), and the lighting becomes more subdued and characteristic of the evening time of the day.
Basic transformations
Importing all the necessary libraries
import Pkg;
Pkg.add("TestImages")
Pkg.add("Images")
Pkg.add("Plots")
Pkg.add("ImageShow")
Pkg.add("ImageContrastAdjustment");
using TestImages, Images, Plots
using ImageShow # Image Rendering Library
using ImageContrastAdjustment
cd( @__DIR__ )
Download the images
download("https://i.pinimg.com/736x/b1/bd/66/b1bd661ff2bbc212eb3f44b209c1facf.jpg", "sourse.jpg")
download("https://i.pinimg.com/736x/1a/0e/3b/1a0e3b0301e2275f81d2abdf904ec12b.jpg", "reference.jpg");
Uploading images
path1 = "$(@__DIR__)/sourse.jpg"
path2 = "$(@__DIR__)/reference.jpg"

sourse = load(path1)
reference = load(path2);
Visualize the images
simshow(sourse)
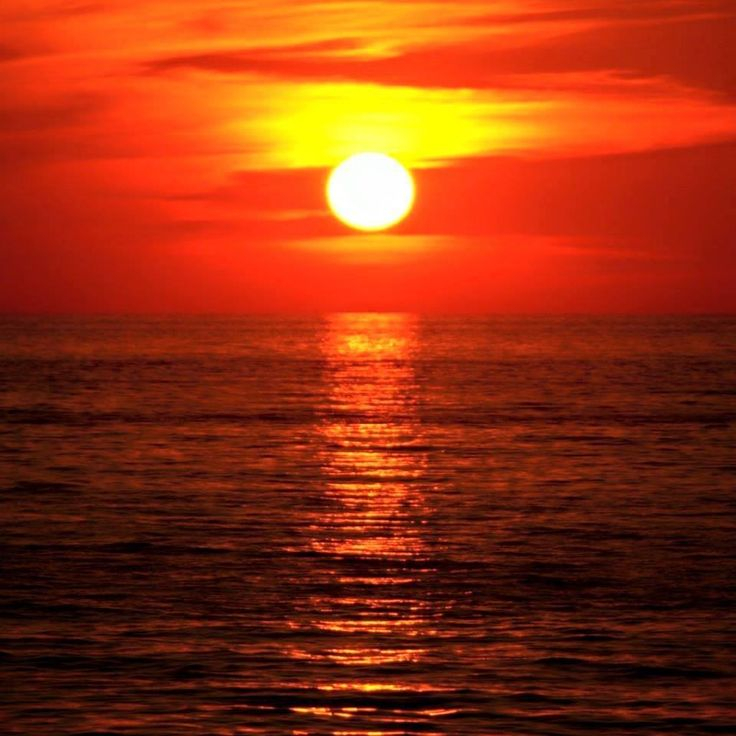
simshow(reference)
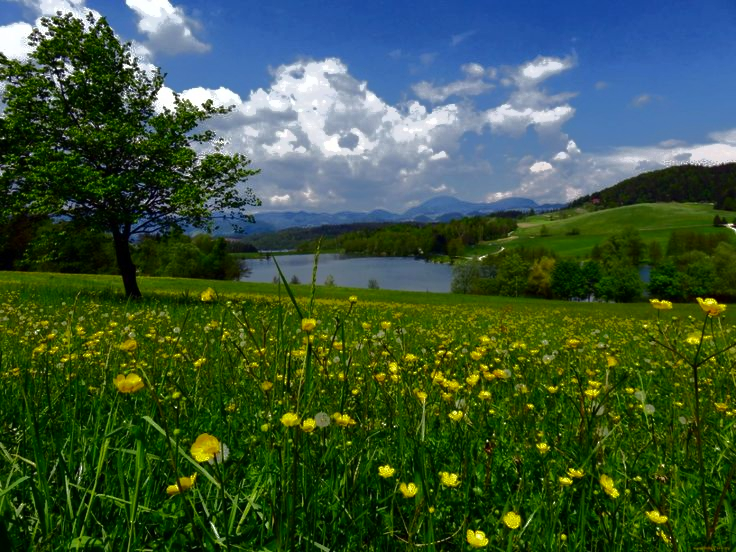
Function adjust_histogram with the parameter Matching performs a comparison of histograms, allowing you to transfer the shades of sunset to a bright daytime image. As a result, the image becomes darker.
matched_image = adjust_histogram(sourse, Matching(targetimg=reference))
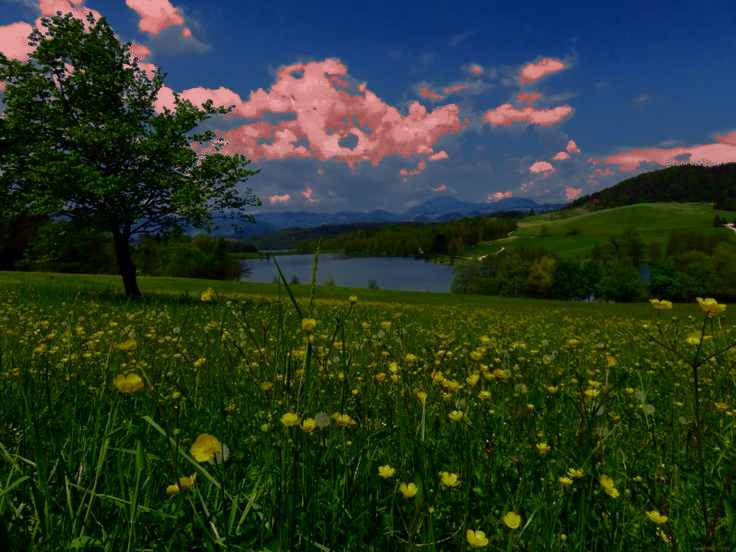
Add pink shades to make the image sparkle with sunset colors.
hsv_img = map(RGB -> convert(HSV, RGB), matched_image)
evening_hsv = map(hsv -> begin
if hsv.s < 0.2 && hsv.v > 0.7
    HSV(0.95, min(hsv.s + 0.3, 1.0), hsv.v * 0.9)
else
    HSV(hsv.h + 0.05, hsv.s + 0.1, hsv.v * 0.7)
end
end, hsv_img)
final_img = map(HSV -> convert(RGB, HSV), evening_hsv)
To show the effect of histogram matching, we build a histogram for each RGB channel.
hist_final = [histogram(vec(c.(img)))
    for c in (red, green, blue)
    for img in [sourse, reference, final_img]
]

plot(
    hist_final...,
    layout = (3, 3),
    size = (800, 800),
    legend = false,
    title = ["Source" "Reference" "Histograms Matched"],
    reuse = false,
)
Source (Source):
The brightness is evenly distributed with peaks in the medium and high intensity regions (0.5–0.9), which corresponds to a bright day.
Reference (Reference):
The brightness is strongly concentrated in the lower part (0.0–0.3), which corresponds to the darkened areas and tones of the sunset sky.
Histograms Matched (Matching histograms):
The histogram after performing histogram matching.
The brightness values of the image have been converted to approximate the reference histogram.:
The brightness decreased (in the range of 0.0–0.3).
The peaks in high brightness characteristic of daylight disappeared.
Conclusion
This example shows how to transform a bright daytime image into sunset shades by comparing histograms and changing the intensity of HSV channels.