Block Masks
In this example, we will look at how to use graphical interfaces for subsystems. This tool is used for convenient parameterization of blocks and for the development of custom libraries.
In our demonstration, we will use the previously described model from this example (https://engee.com/helpcenter/stable/en/interactive-scripts/edu/Root_Quadratic_Equation.html ). This example shows a model for finding the roots of a quadratic equation.
𝑎𝑥^2+𝑏𝑥+𝑐=0, 𝑎≠0
The model itself is shown in the picture below.
So, we have a subsystem with the algorithm described above.
Now let's move on to creating a mask.
After that, we will be taken to the interface creation window.
In this window:
- the structural elements are shown on the left,
- the final interface of the block itself is in the center,
- The settings of each element are visible on the right.
Now let's take a closer look at the elements that we can interact with.
- The input field allows you to assign any value to a constant inside the block that we enter using the keyboard.
- The Checkbox allows the constant inside the block to be set to 0 or 1, depending on whether this parameter is enabled or disabled.
- The Drop-down list contains a set of parameters and, depending on the selected parameter, assigns the sequence number of the selected parameter to the constant.
- Hidden section allows you to split the interface of the block into several subgroups; each of them can be collapsed and have its own name.
In our example, we will consider the Input field and use it to set parameters a, b, and C.
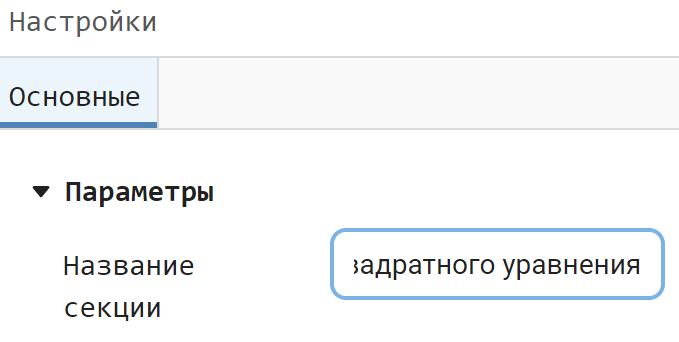
Let's start by renaming the section.
.png)
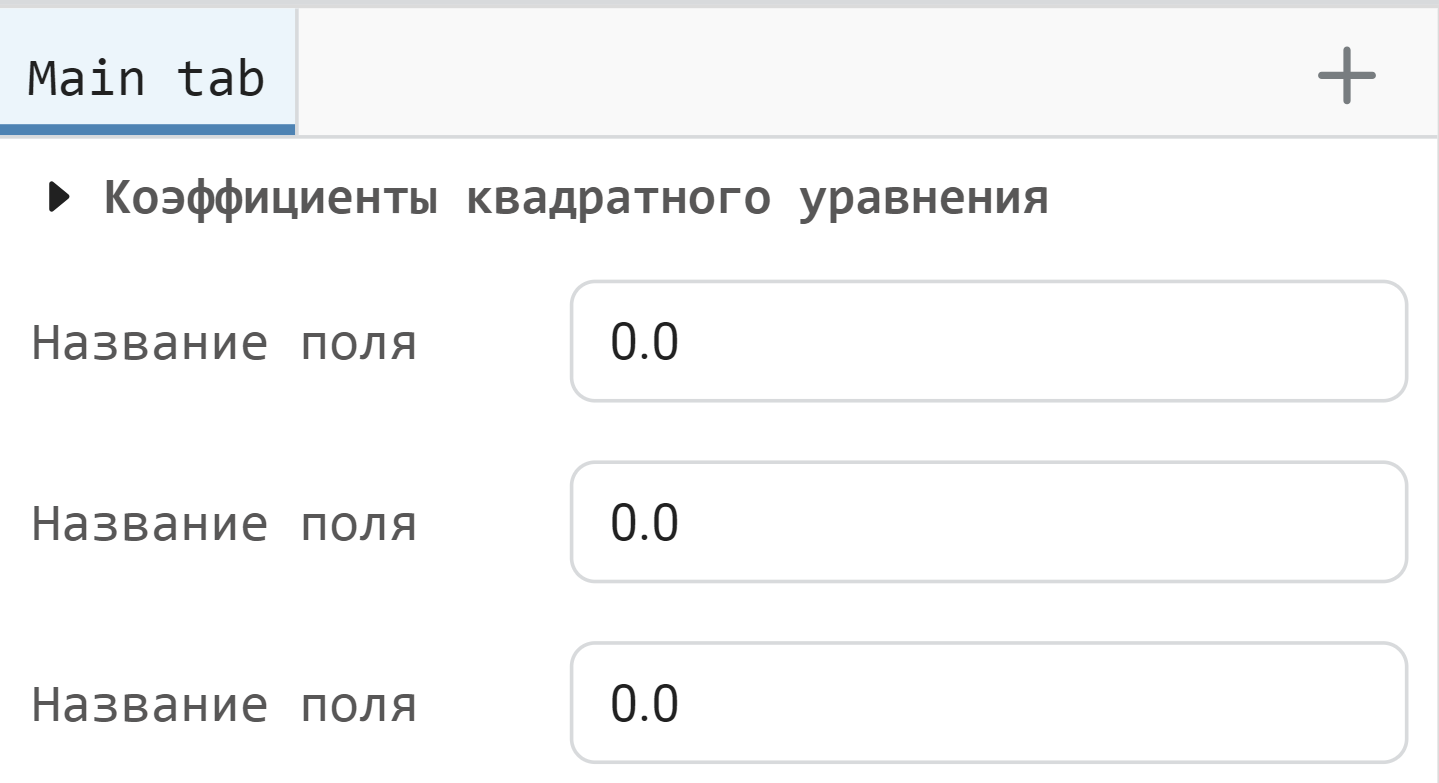
After that, we will add three input fields.
.png)
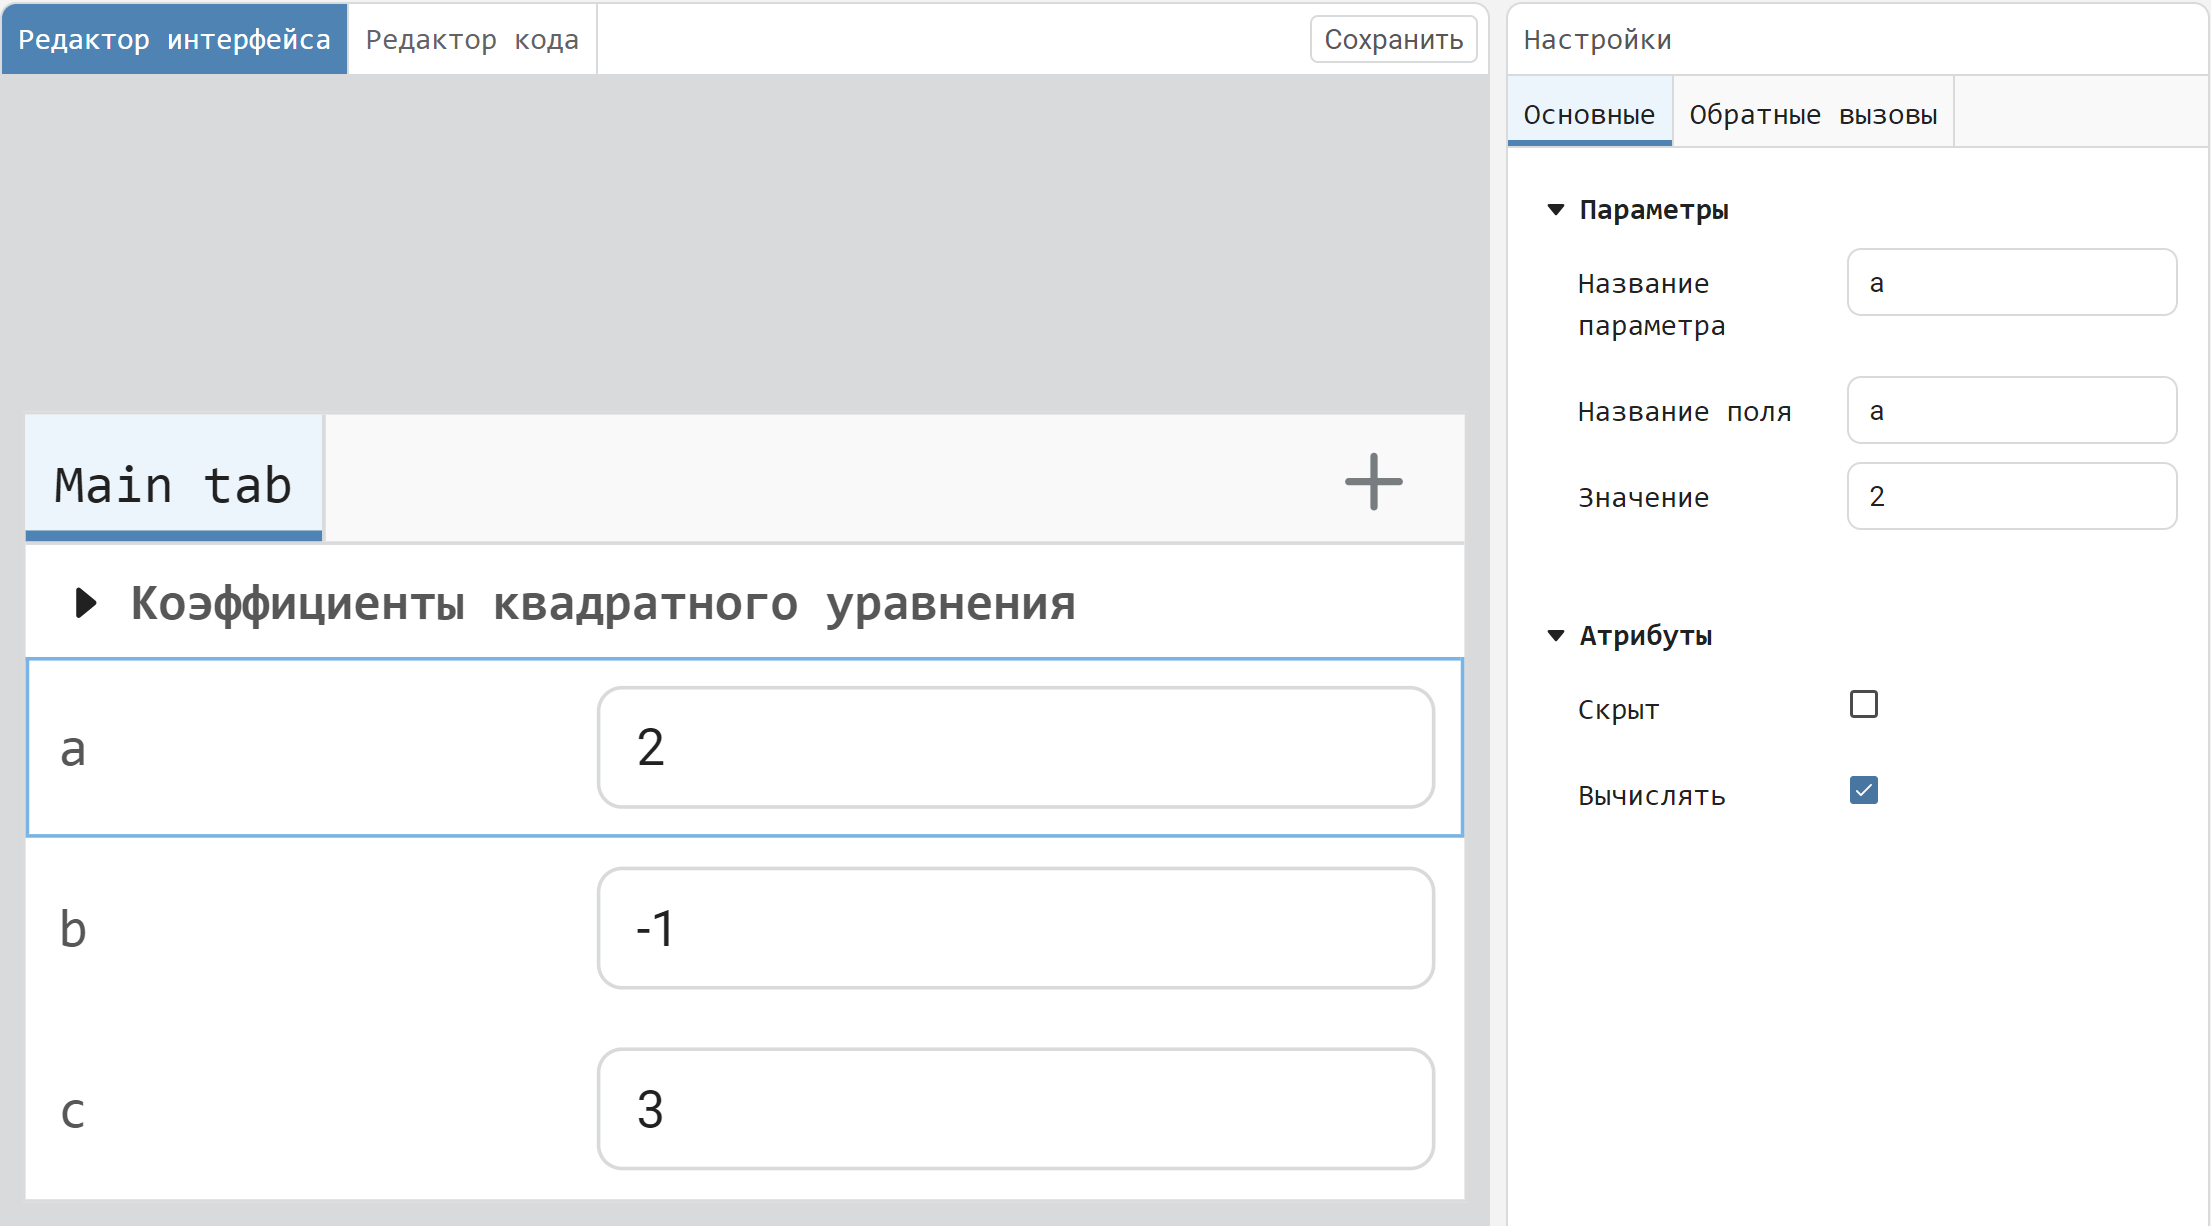
Now we will configure each of the fields according to the names of the constants specified inside the subsystem.
.png)
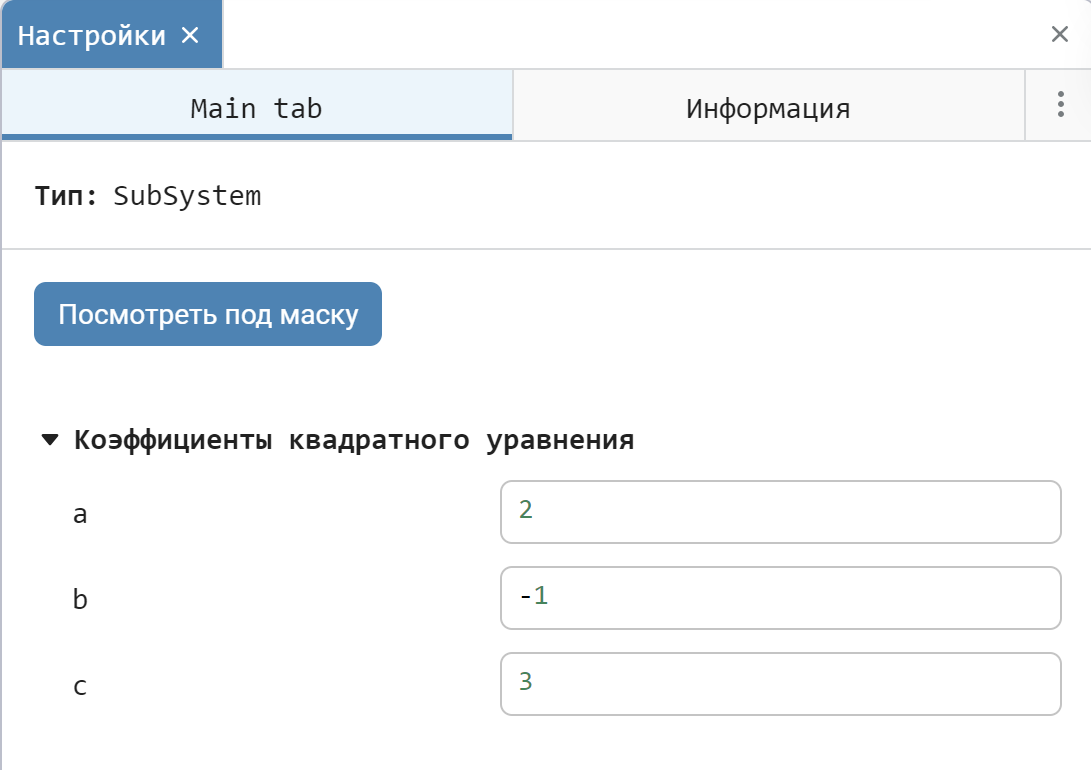
As a result, we get a block with the following input parameters:
.png)
Now let's run the model.
It can be seen that the roots of the equation have been found, therefore, the model works correctly.
Conclusion
In this example, we have shown you the tools for creating interfaces for custom blocks and shown you how to work with them using a specific example.